| Spoiler alert! This page is either part of the walkthrough for Obduction or contains solutions to puzzles and other information that may be considered as "cheating" the game. |
| Spoiler alert! |
Previous part [Unlocking the Tower]
Walkthrough - Part 9[]
Head back outside and enter the mayor's office again. Go up the elevator one level. Take that path all the way down and go across the catwalk over the swing bridge. Note: if you haven't already lowered the stairs/ramp from the overhead walkway of the bridge (see part 7), do it now.
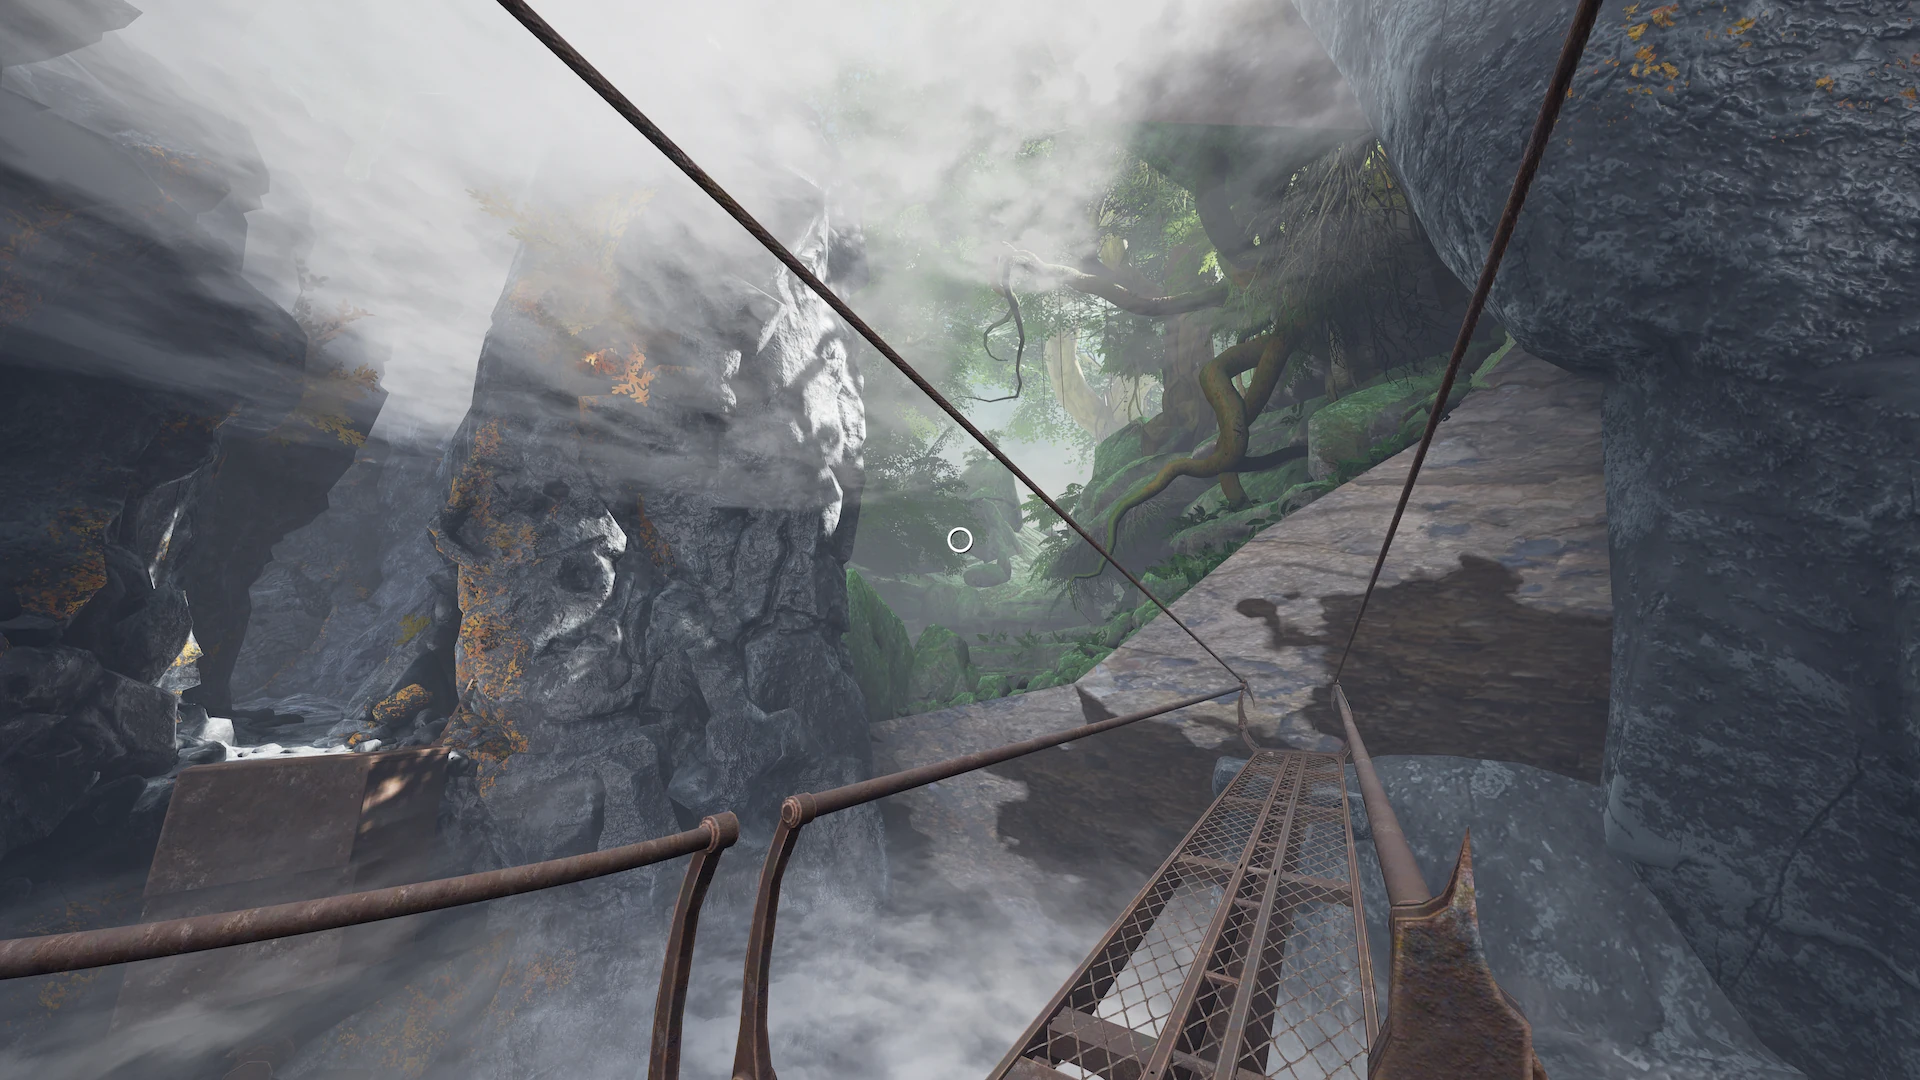
Go left at the fork and up the stone steps, follow the left-most path towards the waterfall. Then go down through the purple portal.
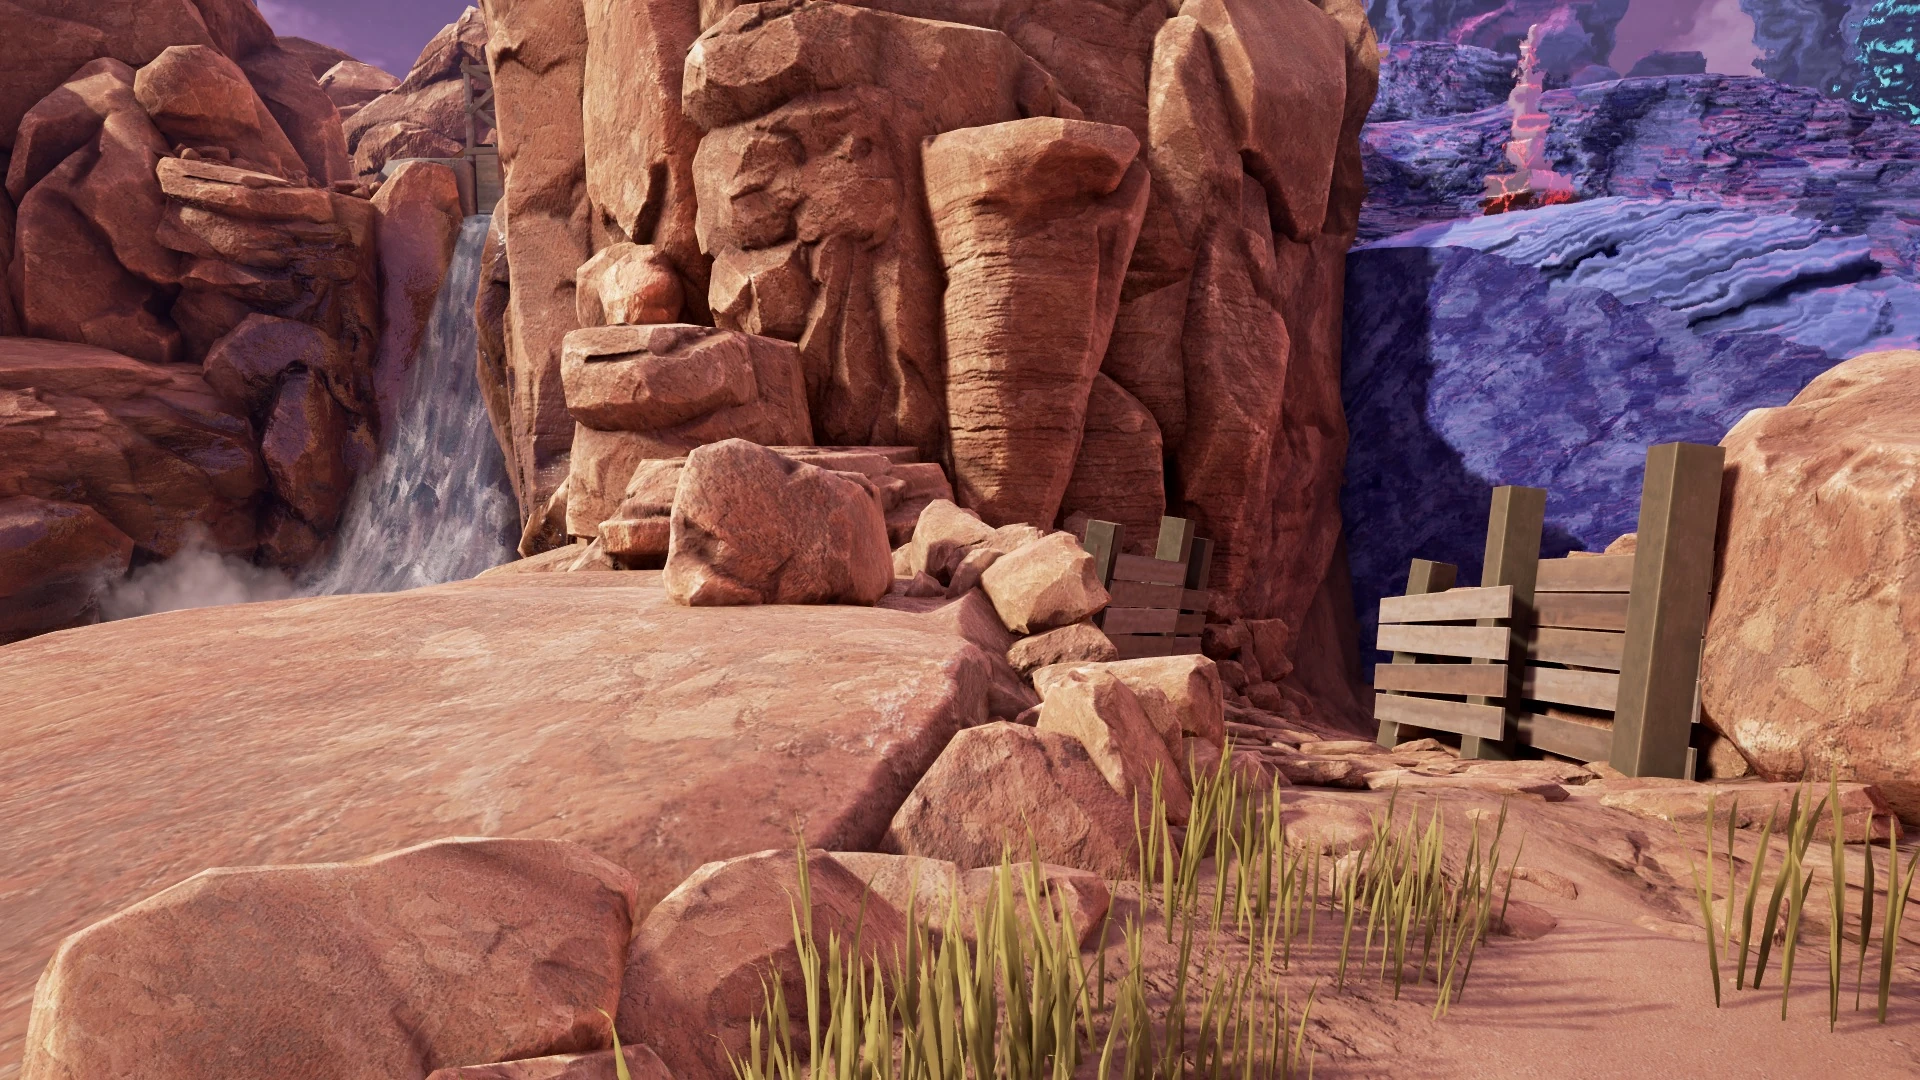
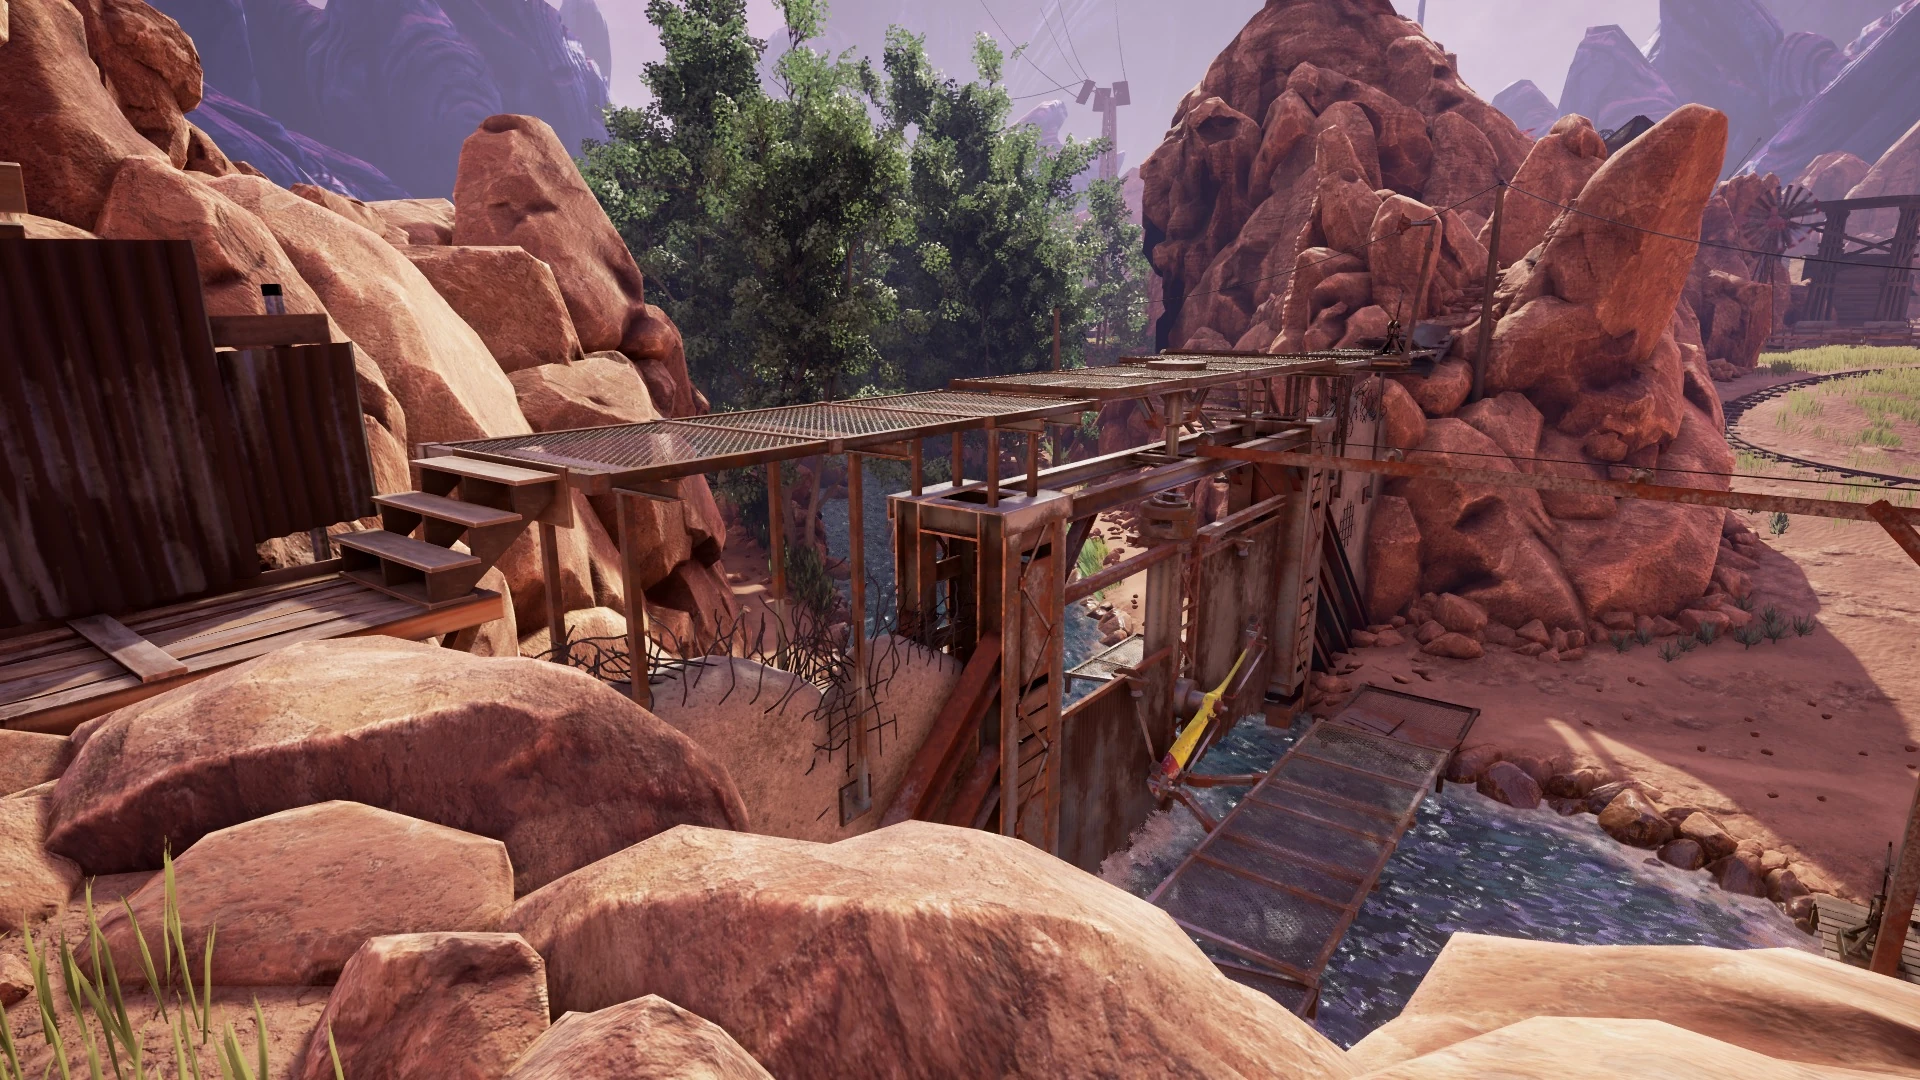
Follow the rocky path until you get to a point overlooking the scrapyard.
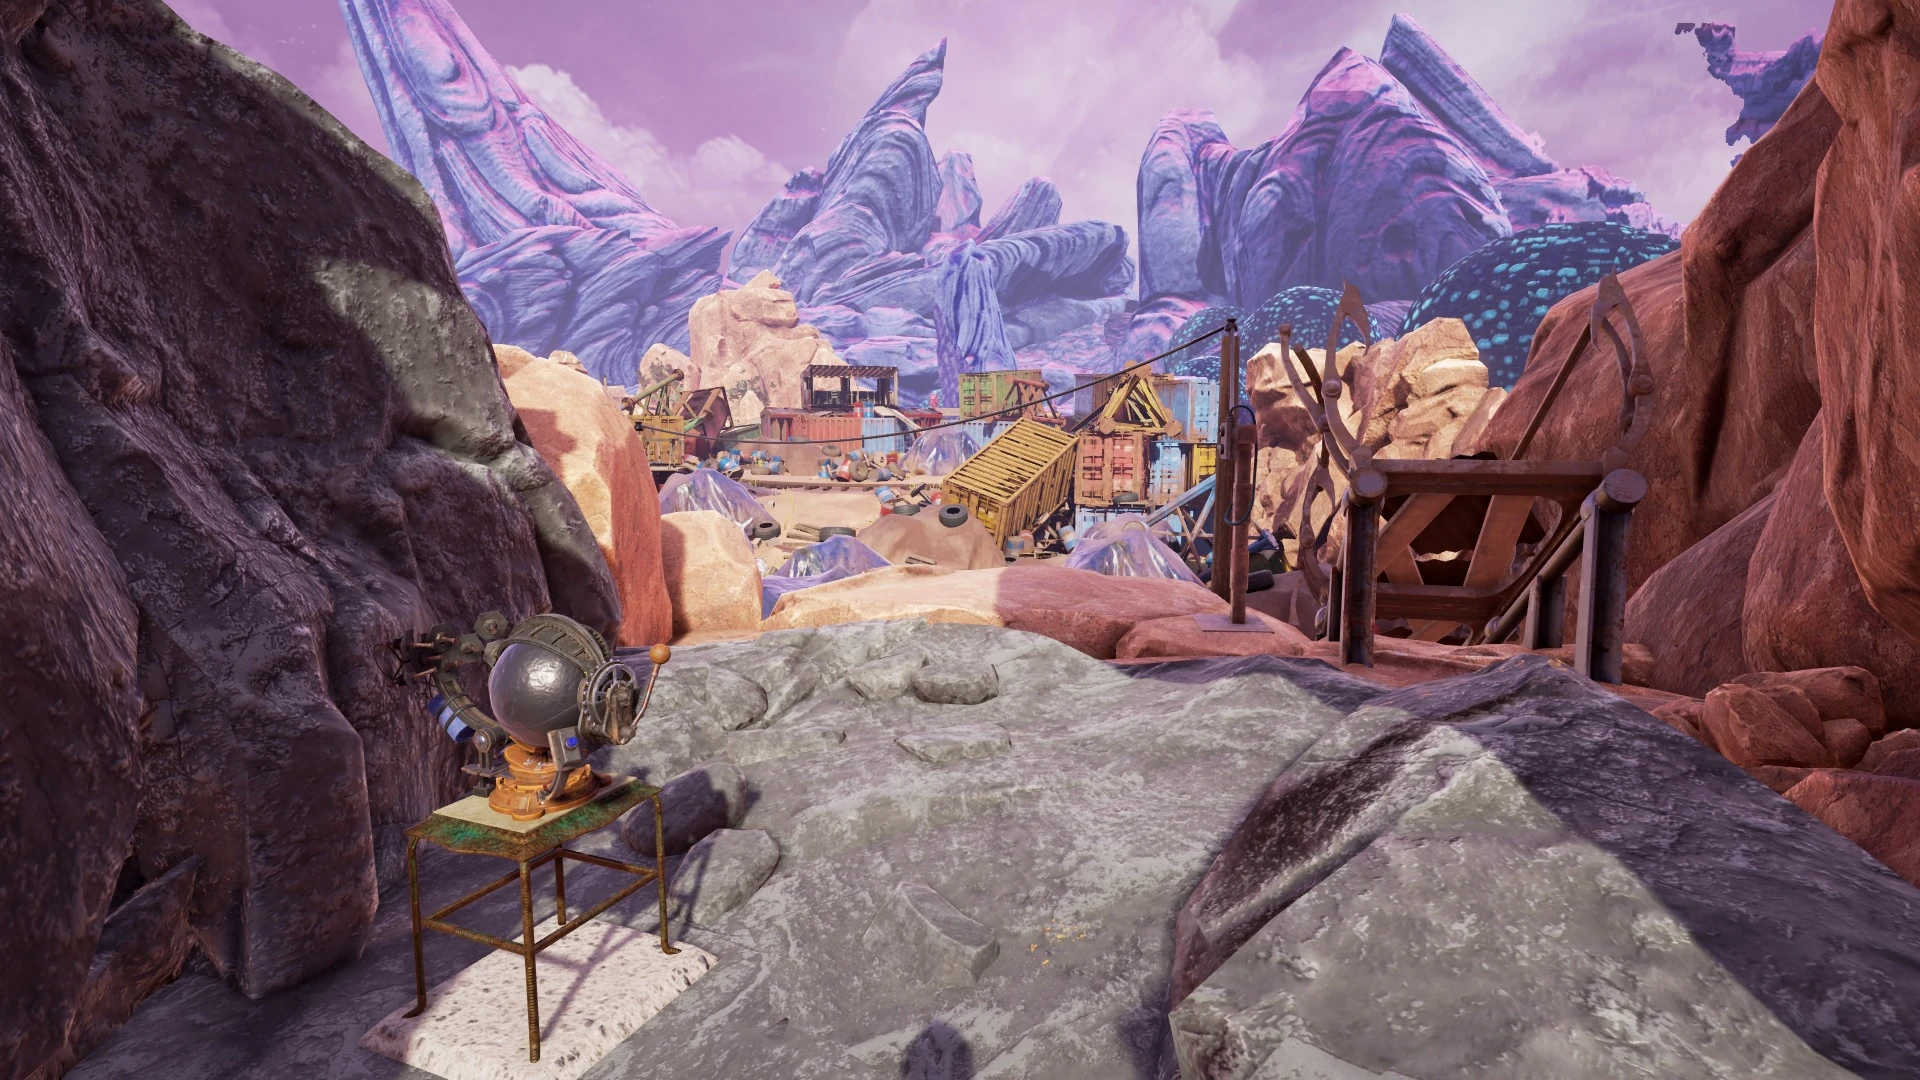
Here, you'll see a ramp that can be lowered, connecting this area to the scrapyard. Push the button attached to that. Then, look behind you and you'll see what looks almost like a helmet with a lever. Another seed-swap device! Throw the lever, push the button, and... Welcome to a brave new world!
You'll notice this area is entirely different than our first. It is called Kaptar. If you remember, there were papers in Farley's Community Center describing the different species they had encountered and what worlds they lived in. There are two possible paths from this point. One leads to what should be a lift, but it's not working yet. The other leads to the swing bridge of Kaptar.
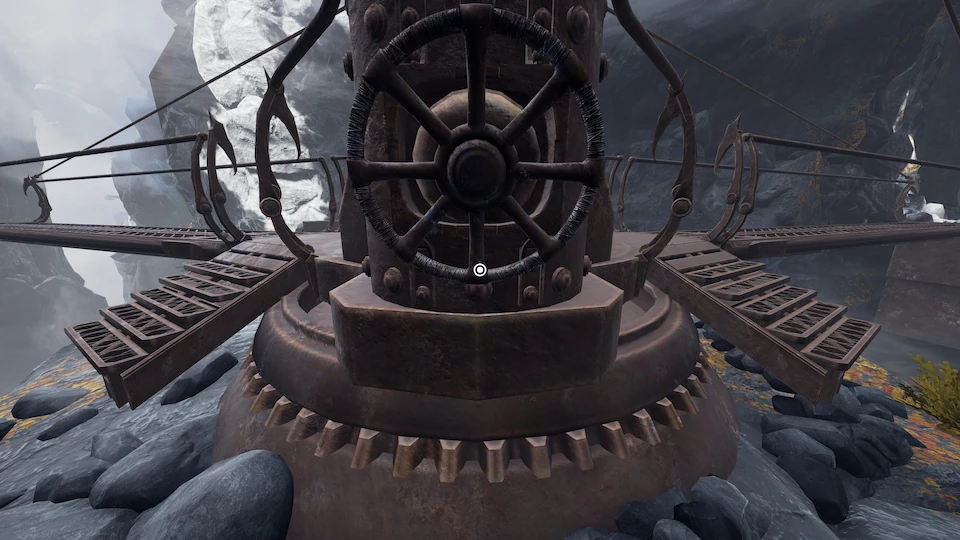
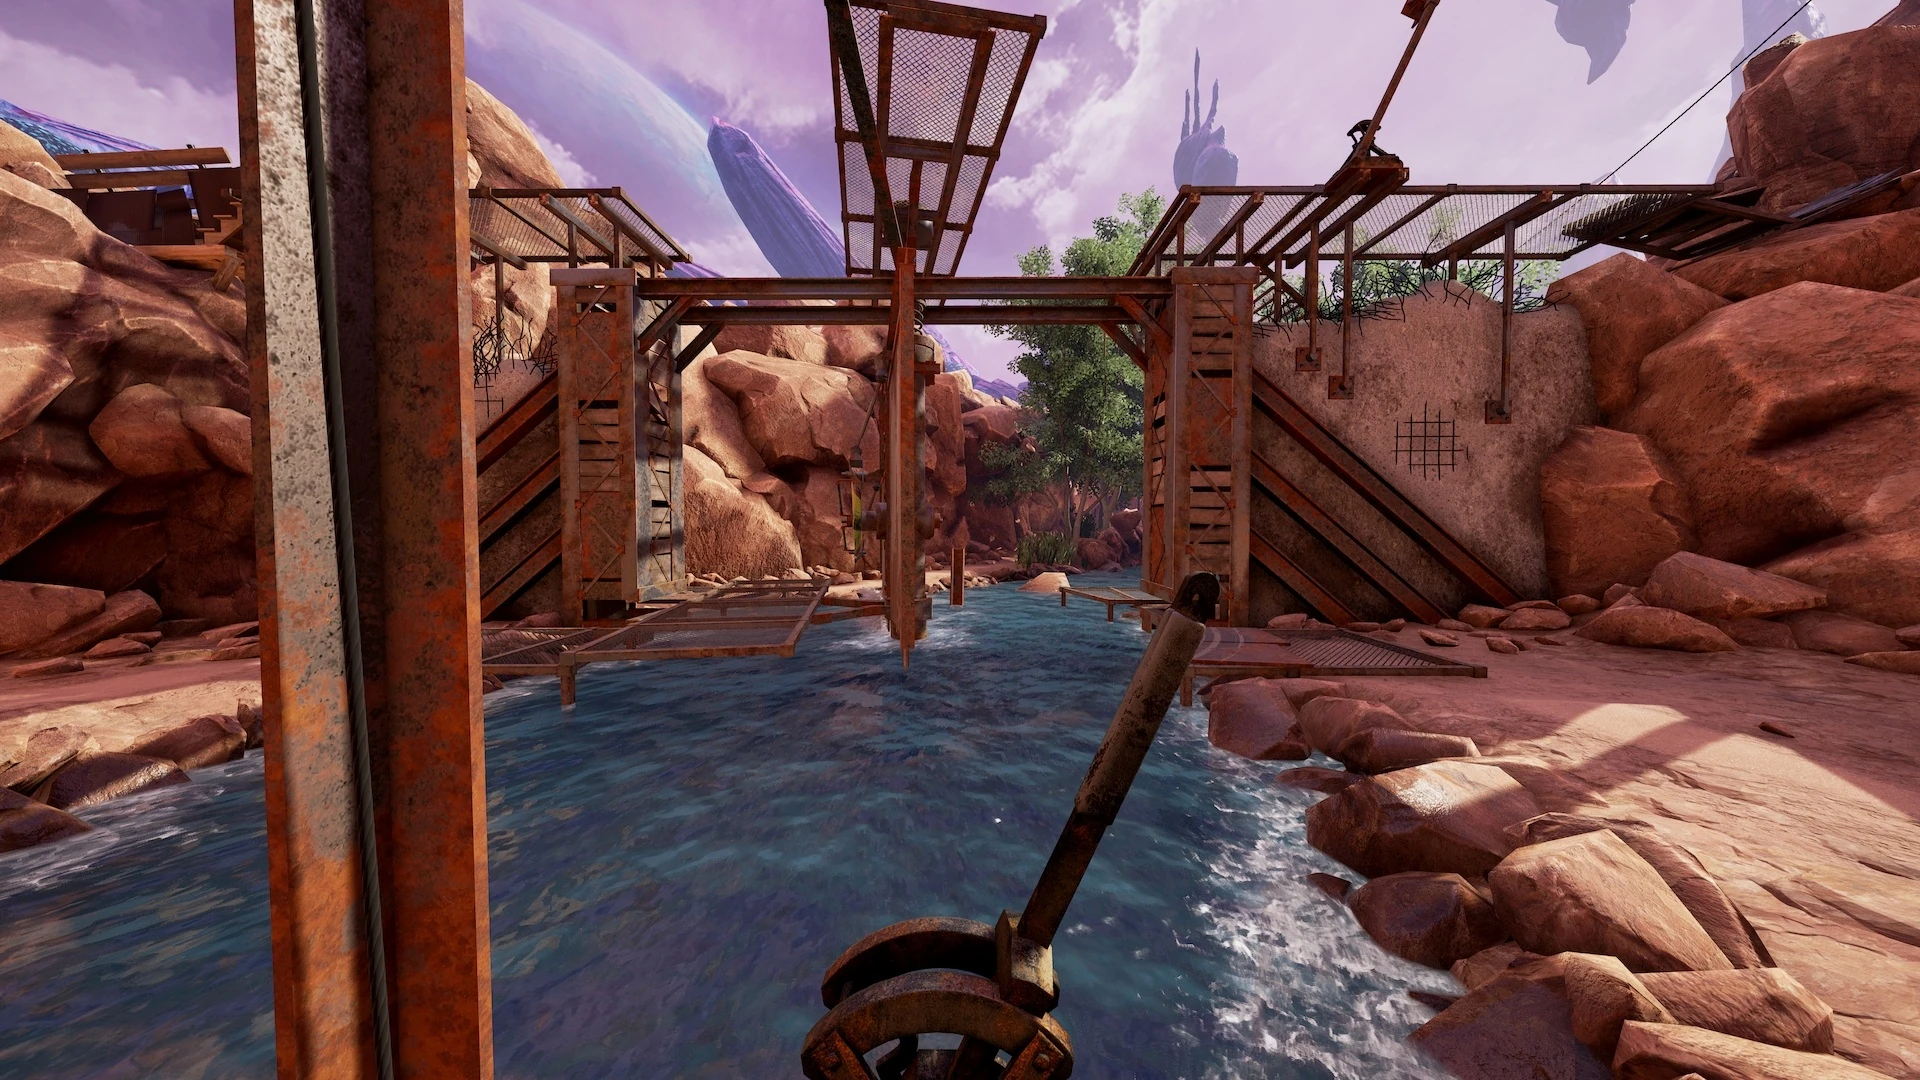
Get on the bridge and cross over to its center hub. Step down into the center area, and turn the steam wheel.
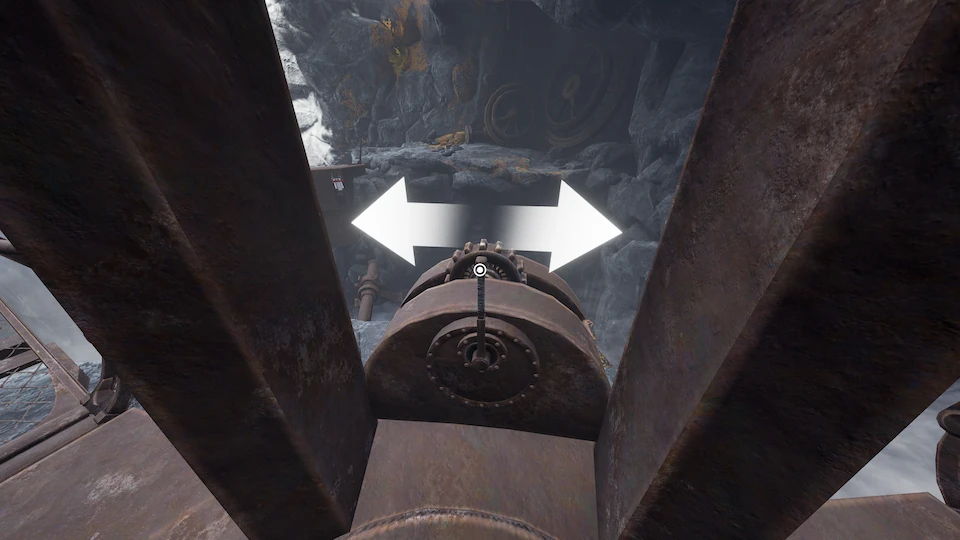
Get back on and throw the move the lever to the right to reach across to the other side. A metal bar is blocking any further rotation of the bridge. Push its red handle down.
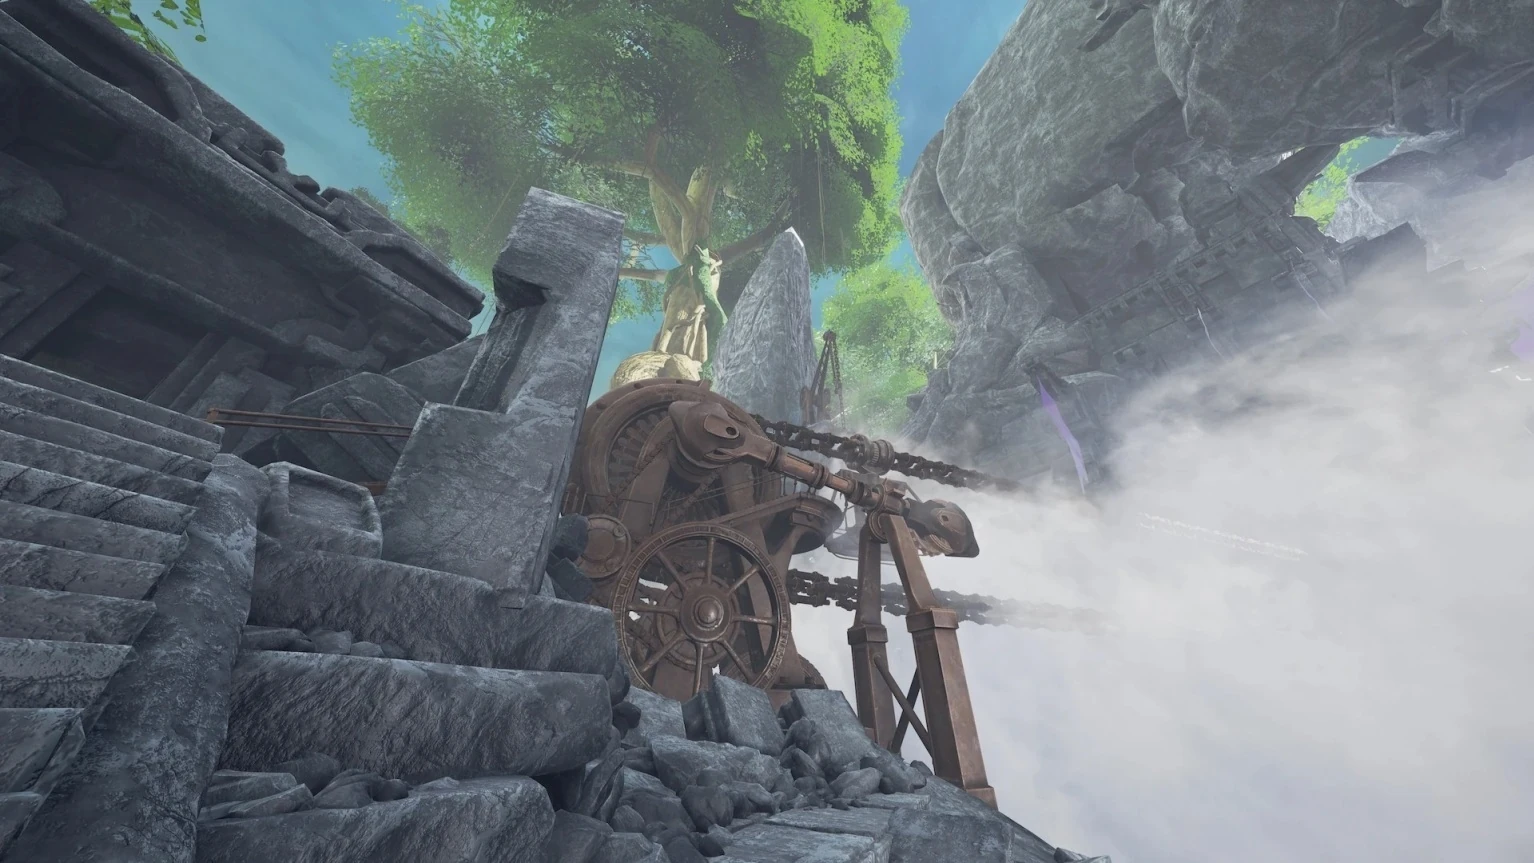
Continue down the path. Make note of the Arai beetle staring down at you. Keep moving along this long and winding path. Explore the ruins. When you've explored, take the path to the immediate right from where you first saw the ruins. Take it all the way up and around, until you get to a huge mechanism. When you reach the last big wheel of this mechanism, take a passage to your left and you will find another even bigger mechanism that should look like a giant metal fan. Walk to the rear of the mechanism.
Once at the rear of the huge mechanism, walk down the stairs all the way until you get to the gear and steam wheel. Pull the lever on top to lower the gear and lock it into place. Turn the wheel to lock the fins below into a fan position to generate energy.
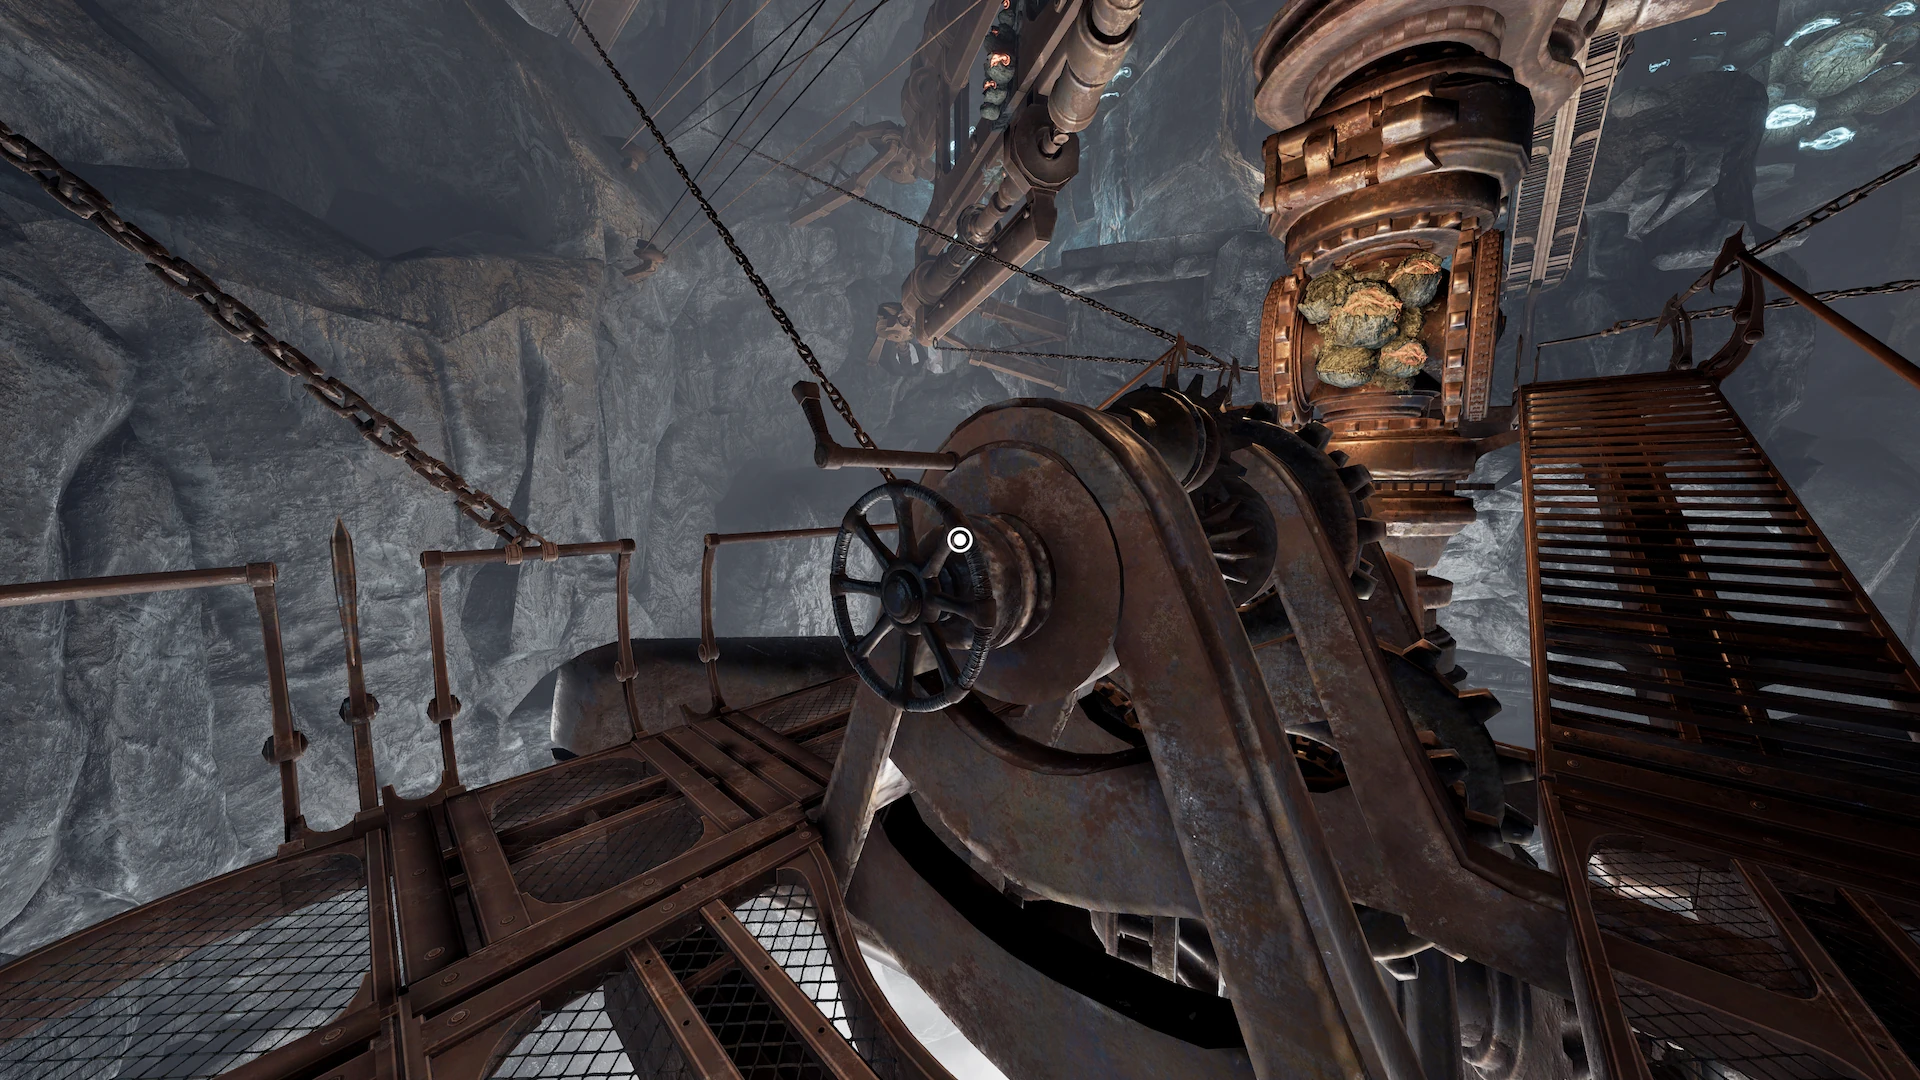
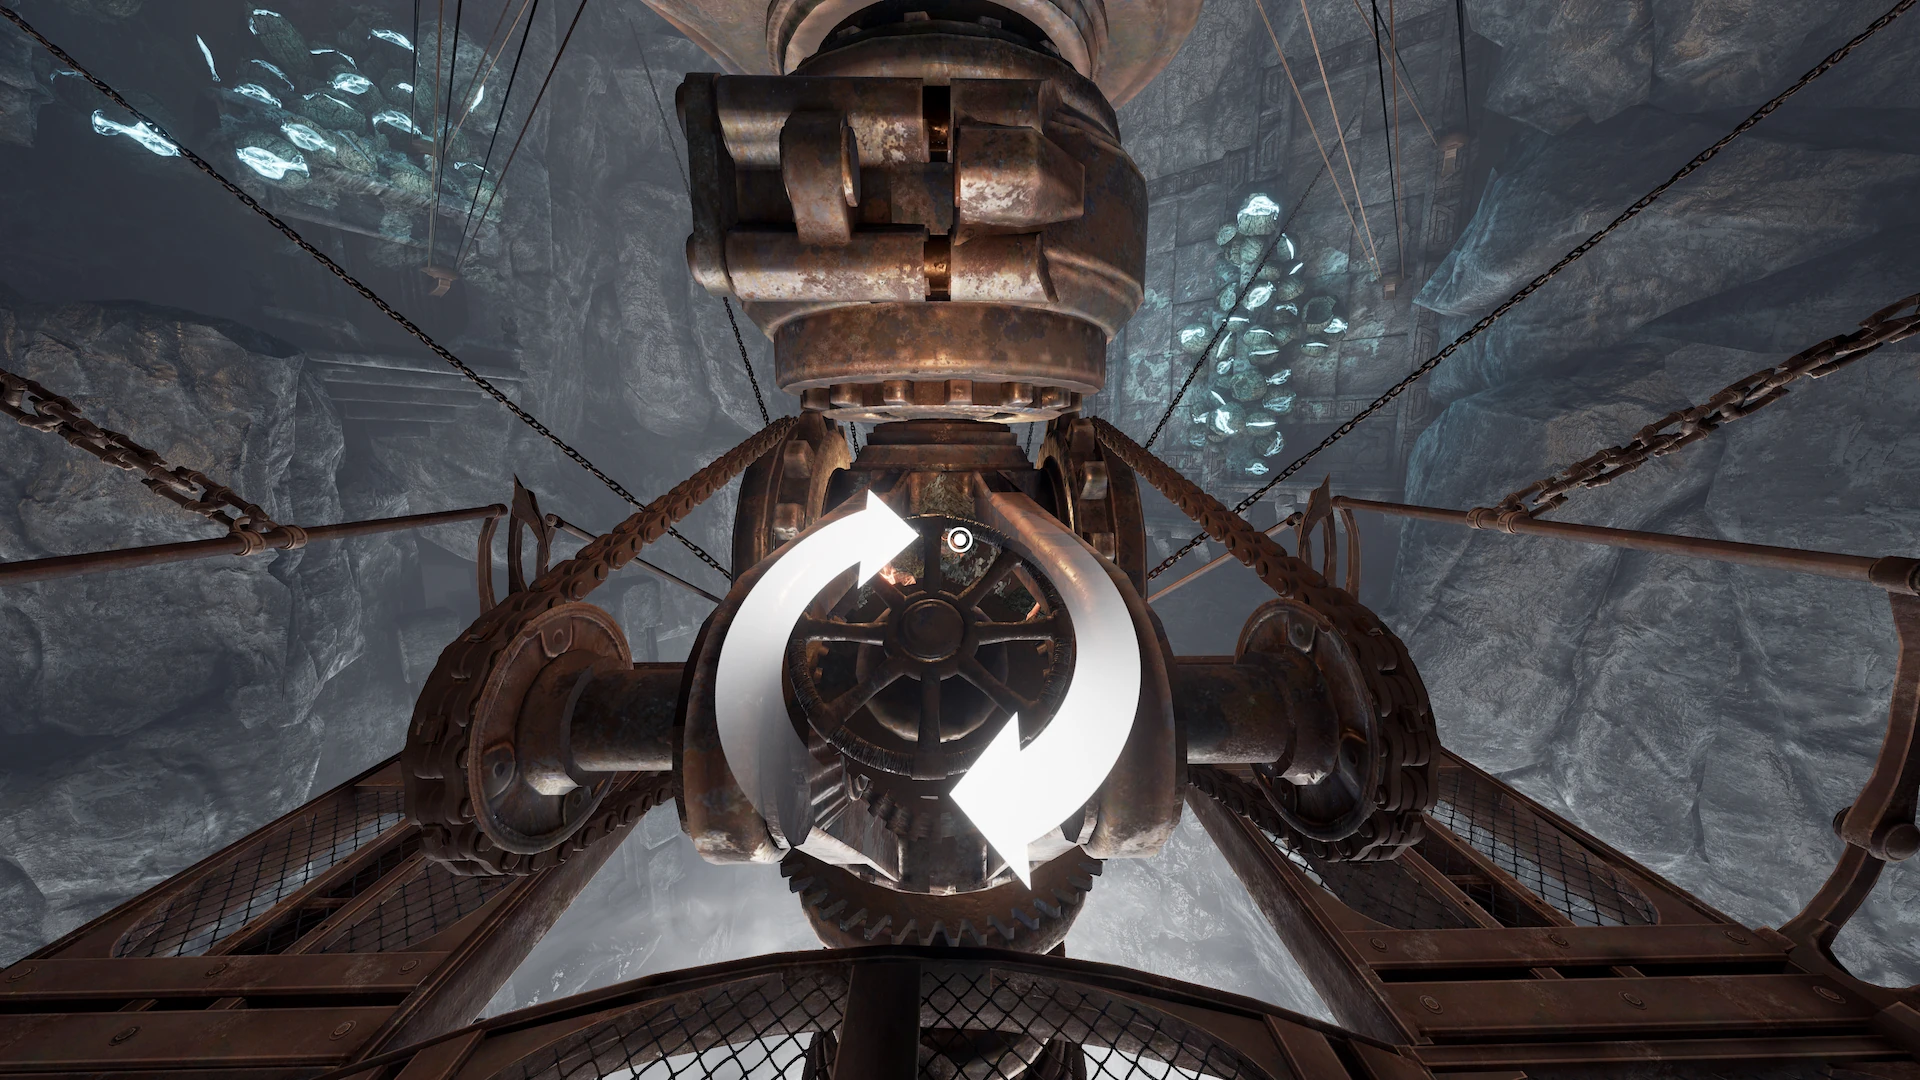
Go up a level, and engage the gear by turning the wheel and holding it until it fully engages.
Head over to the panel here, and look behind it - the Cyrillic lettering will be important later.
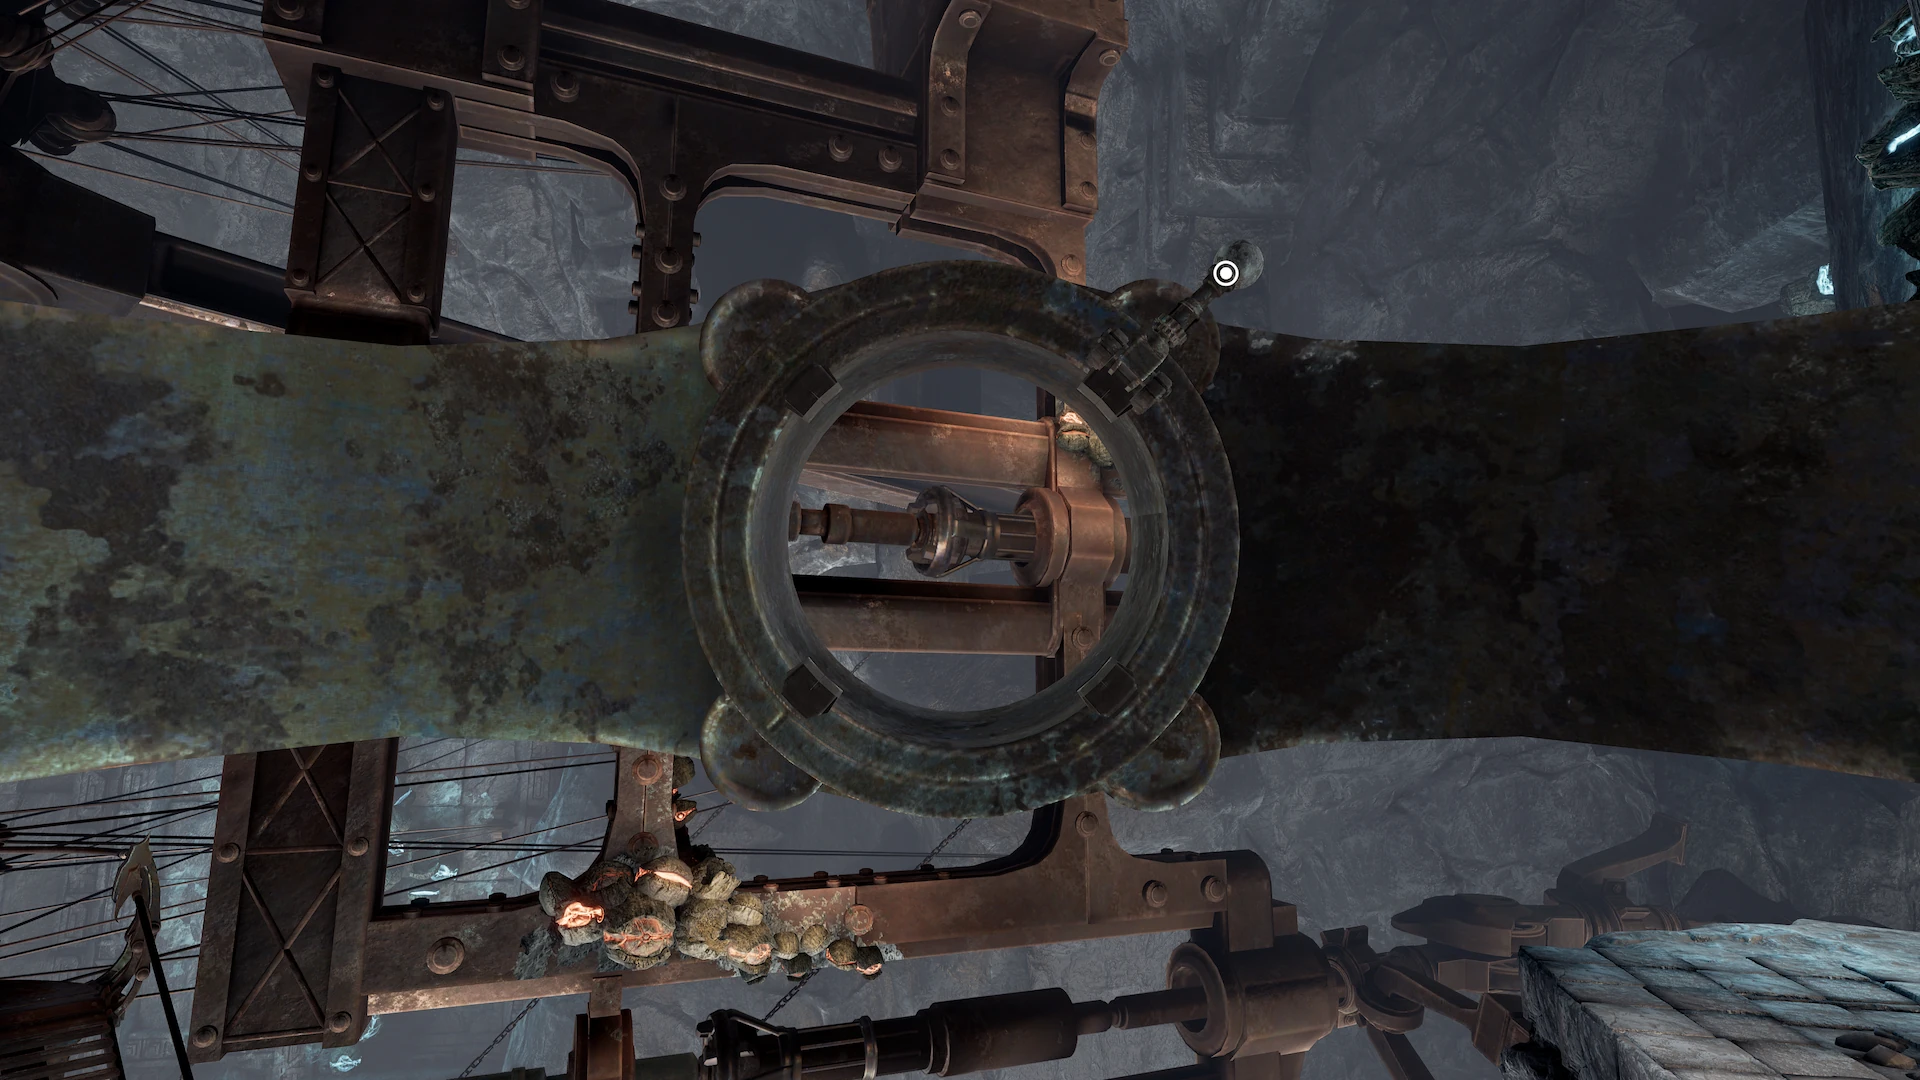
Head over to the center platform, and get on it. Click at its central ring and it will move to aim at one of the shafts waiting to be connected with the piston that is being swayed by the crankshaft. Click on the spherical end of the switch to make them connect. Then grab the lower part of the switch and drag it around to another position. Connect all four shafts with their pistons.
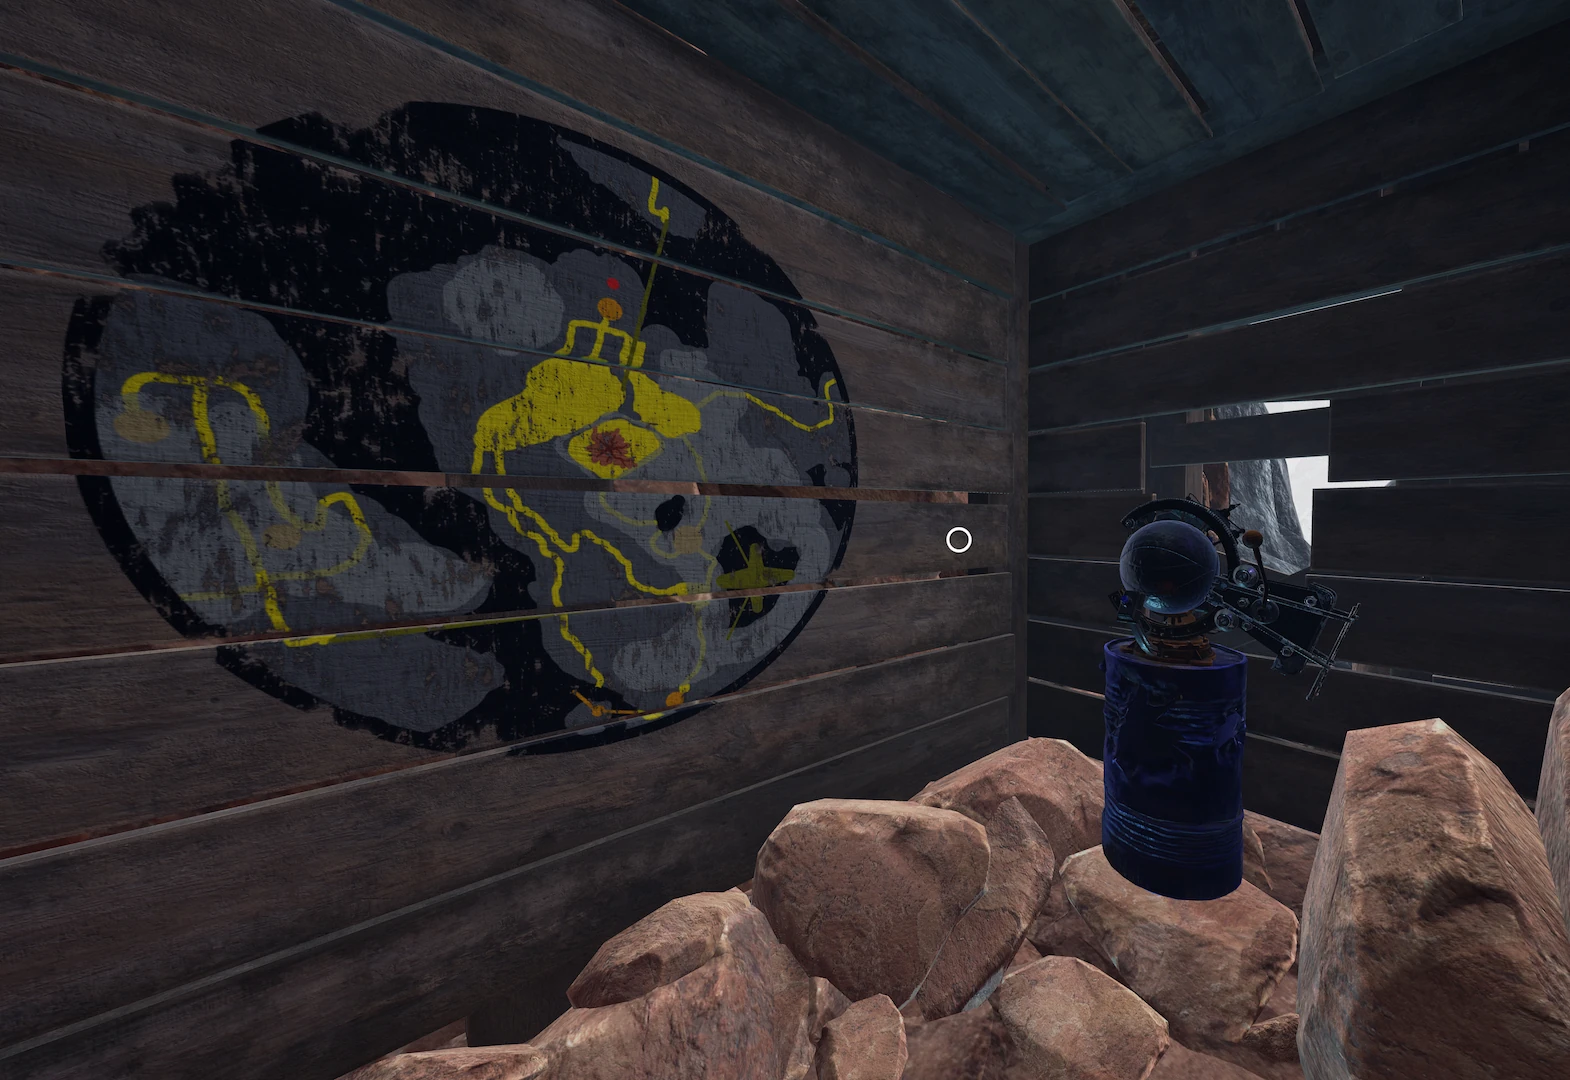
Once all the shafts have been connected, go all the way back down to the main Temple ruins. Try to locate where the red beam is coming from. Just left before the temple entrance you will see a path leading to a sphere from Hunrath. Inside you will find a sketchy map of Kaptar and a seed-swap device.

Use the device to teleport back to Hunrath.
Make a note of where you appear. Run to where you left your blue beam railcart, and drive it all the way back to this place. While still in the cart, reach through the hole in the wall and throw the seed-swap device switch to teleport back to Kaptar, along with the cart.
Now you should be in a small area between two wooden walls. Back up a little so you can aim the blue beam at the red beam through the window. You should be looking towards the left. (Note: If you have already taken the railcart round the scrapyard turnaround, then the window is to your right. In this case back the cart up so that you're nearly blocking view of the Mofang device with the laser aimed fully right. You can just barely hit the device.)
Once the power field of Kaptar has been disabled, teleport back (you can reach the seed-swap device from the cart). Drive the railcart all the way into the Scrapyard, go around the circle, and exit. Now that the Mofang disabler is at the front, drive first left to the edge of the cliff and shoot the rocks at the entrance of the mine down below to the right. Return Downtown Hunrath and, throwing the appropriate rail switches, go all the way past the garden to the waterfall and use the Mofang disbler to open the entrance of the Submarine cave. The railcart is no longer needed in the game. You can explore the cave now and read C.W.'s journal and the Submarine Parts Salvage Log.
Since you are in this area, and provided you have already lowered the stairs/ramp from the overhead walkway of the bridge (see end of part 6), you might as well do an action that will save you a lot of trouble latter on: Push the lever that rotates the swing bridge again and it will turn 90° so that the walkway enables the path along the other bank of the river.
Make your way along the railtracks, past the Community Center and through the tunnel with the portal to the Scrapyard, and once at the Scrapyard, go up the walkway you lowered earlier to the seed-swap device that took you initially to Kaptar. Activate it.
Throw the lever to reposition the bridge, and go to the center, moving it again. Cross the bridge (away from the seed), turn around and, if you haven't done this previously, push down the vertical silver stopper that is blocking the bridge from turning further. Go back to the bridge centre and turn it in the same direction again one more time.
Walk back in the seed direction (but not quite) and you'll pass through a brown portal. Climb up the stairs, go onto the platform attached to the chain, throw the lever, and ride it across.