| Spoiler alert! This page is either part of the walkthrough for Obduction or contains solutions to puzzles and other information that may be considered as "cheating" the game. |
| Spoiler alert! |
Walkthrough - Part 11[]
Then turn around, go back past the seed-swap device that got you here, and throught the cave system. Push the door open, and you'll see that you're in Farley's Community Center.
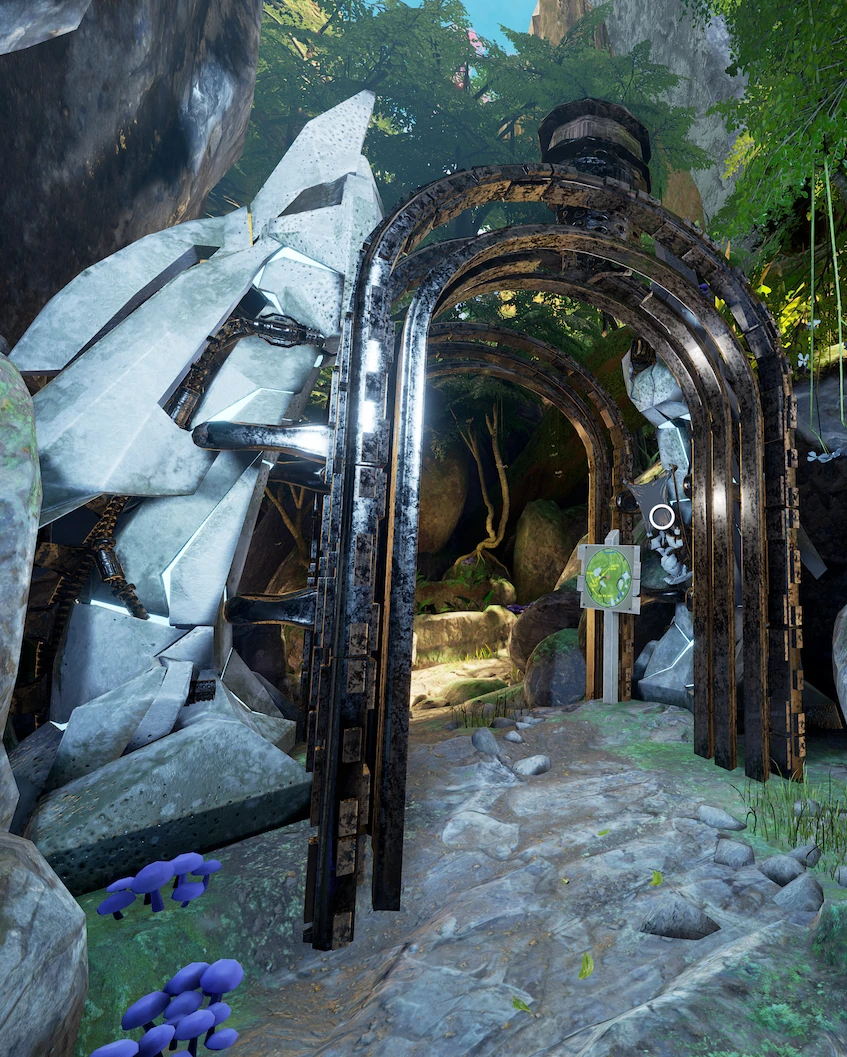
Toggle the door again and go outside. Follow the path to the right, under the stone arch, and go through the purple portal again.
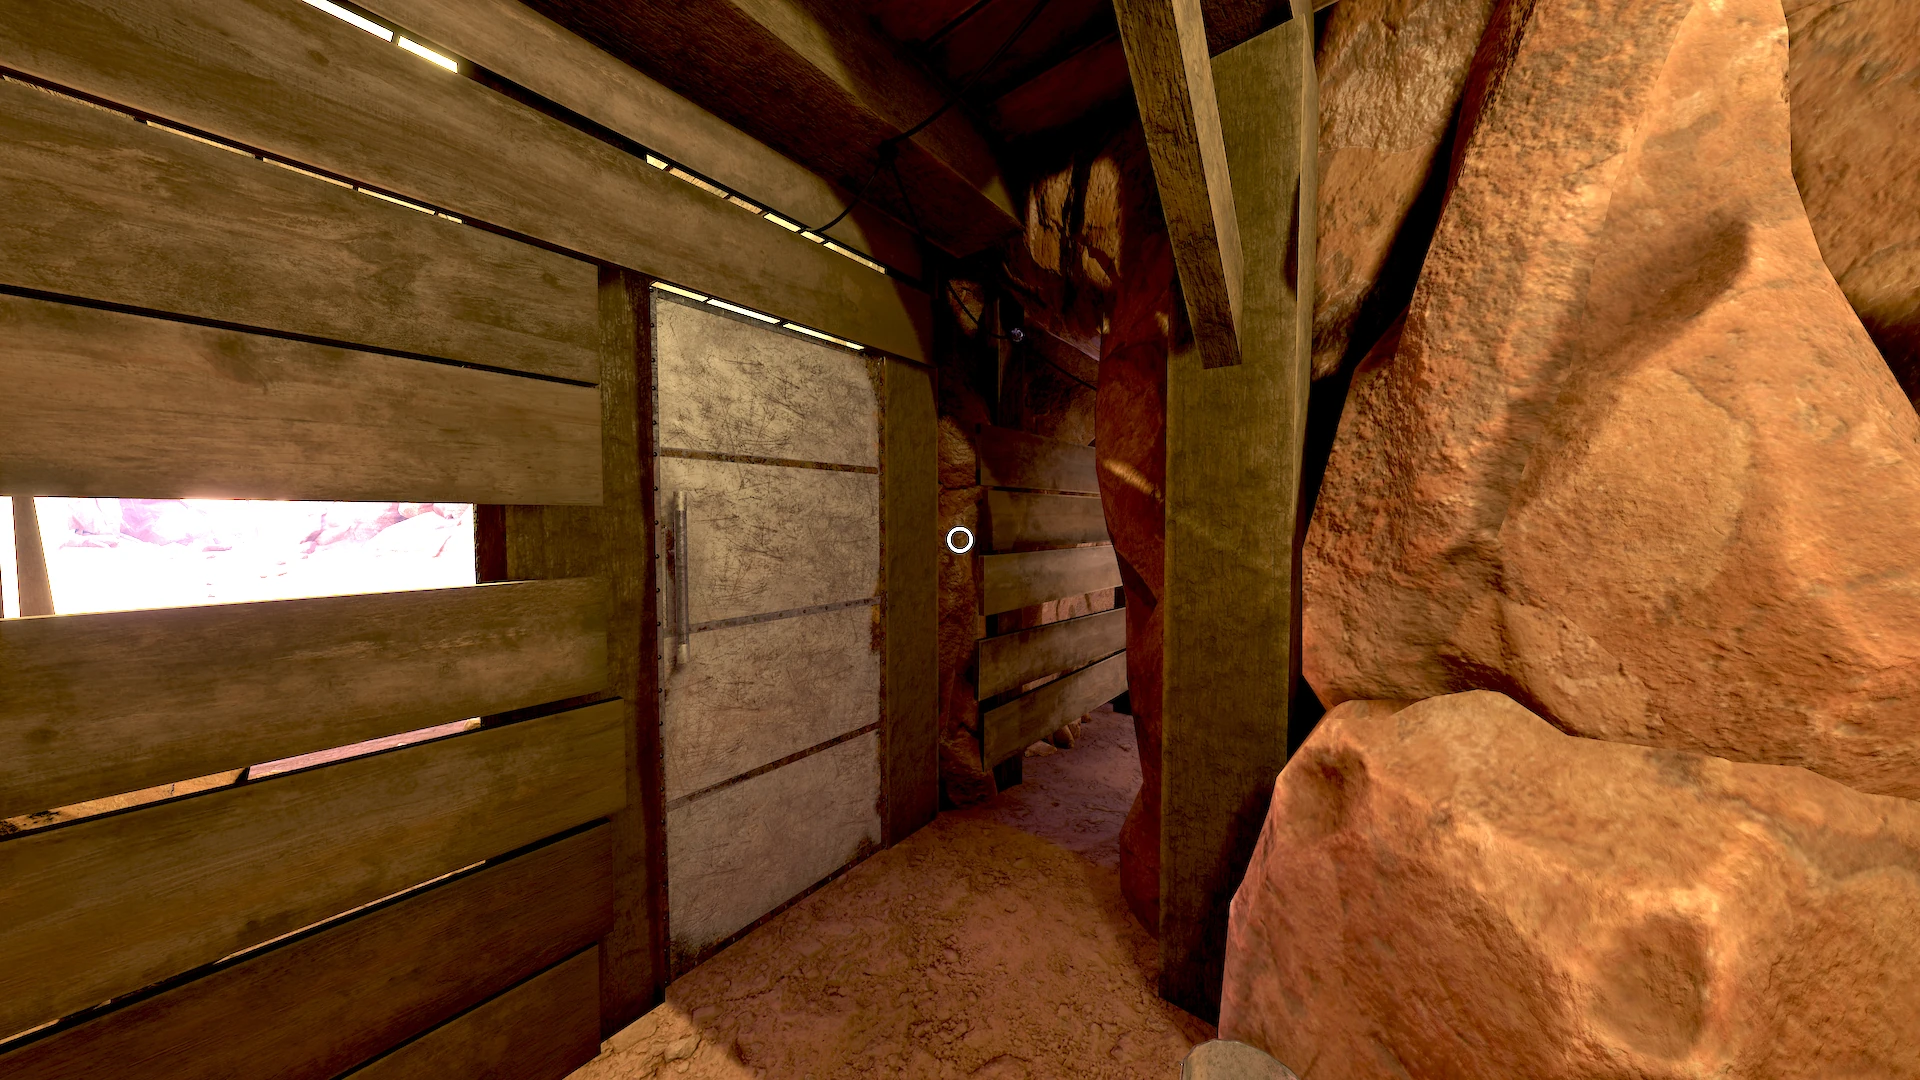
Continue down the path to the left towards the swing-bridge. Go into the wooden building and through the portal. Climb up to the Wall, and before reaching the first stone arch, get off the wall to the right, and head back to the seed-swap device. Activate it.
After swapping to Maray, pass through the door you opened up earlier. Farley has a message for the visitors. There is also a map of the Cell.
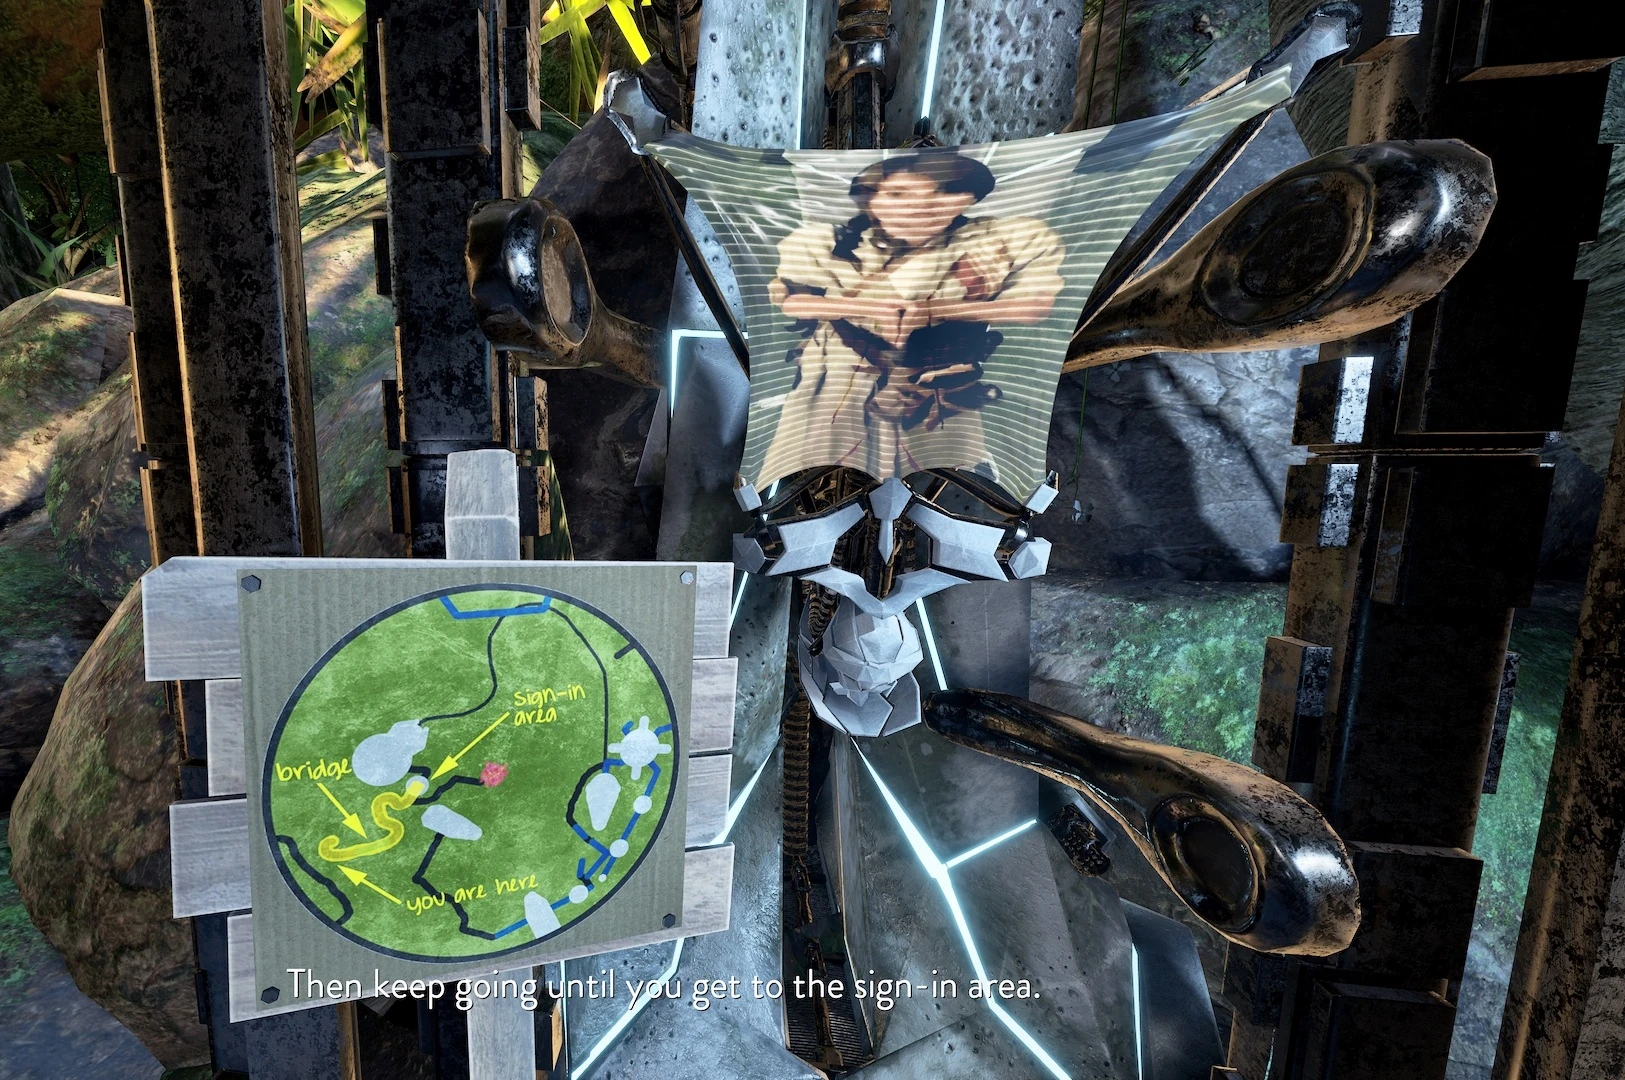
Passage over the bridge to the left has not been enabled yet.
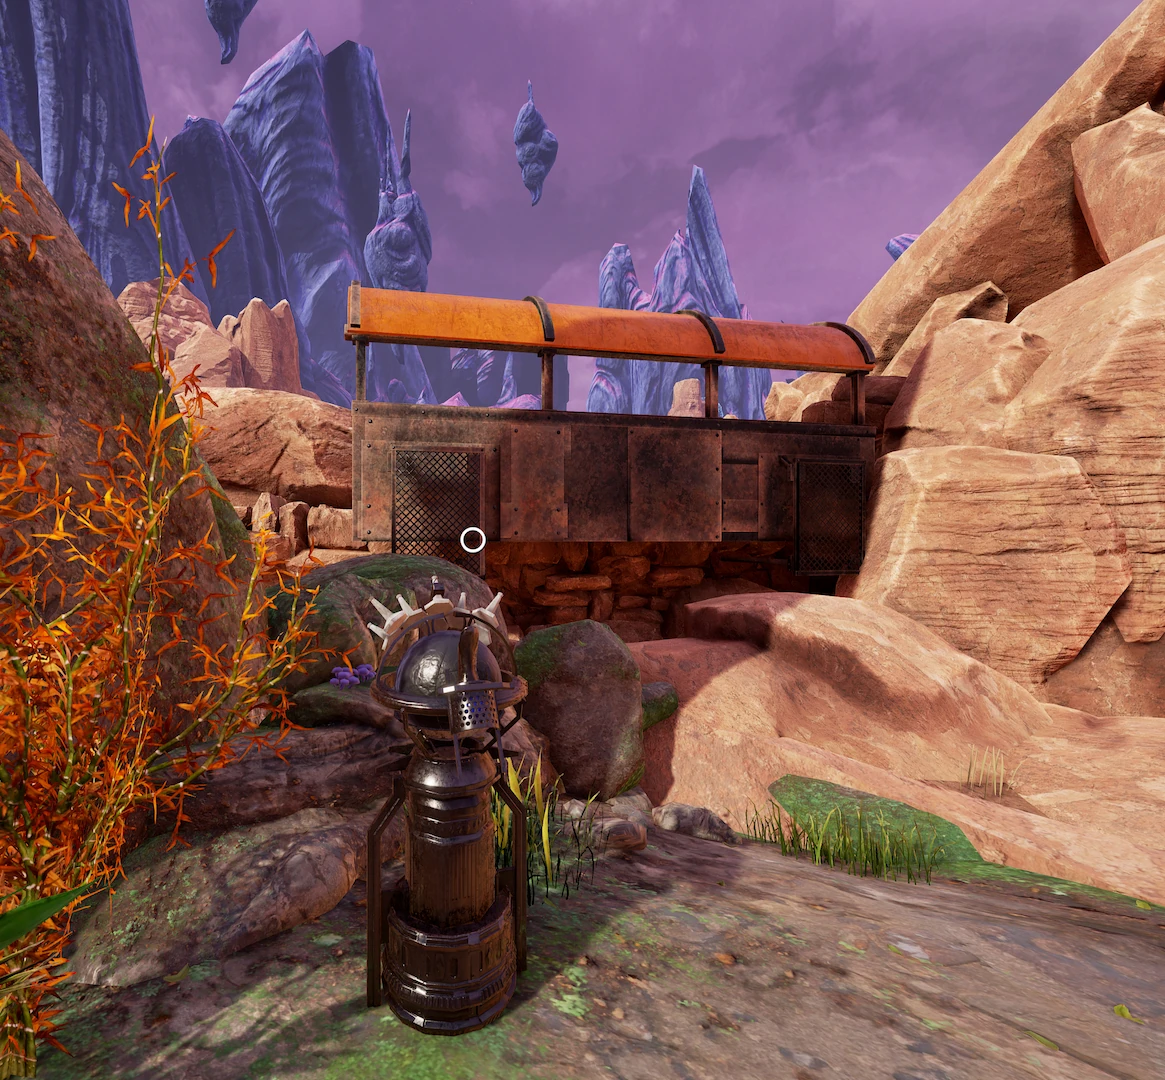
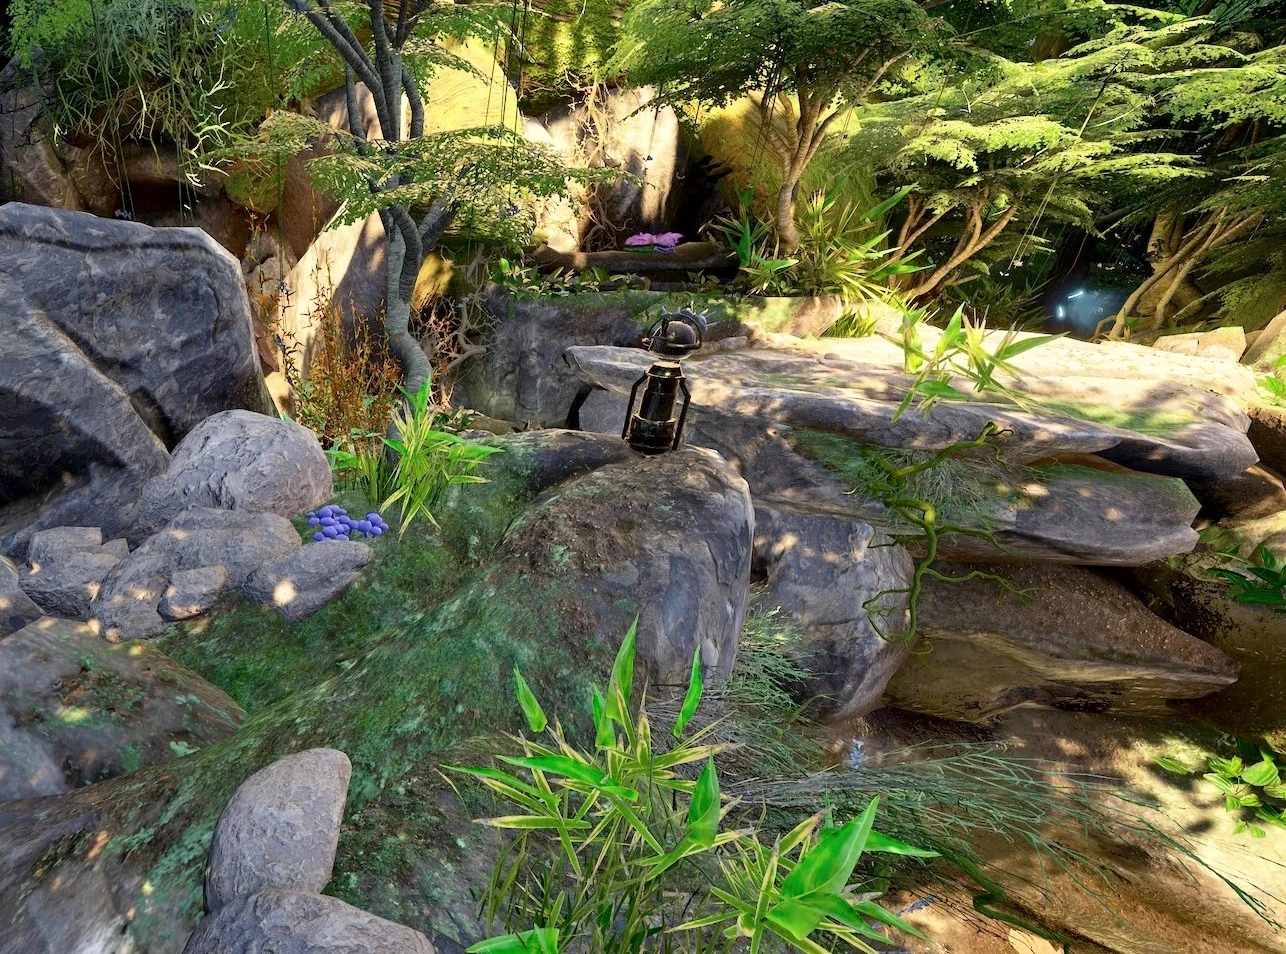
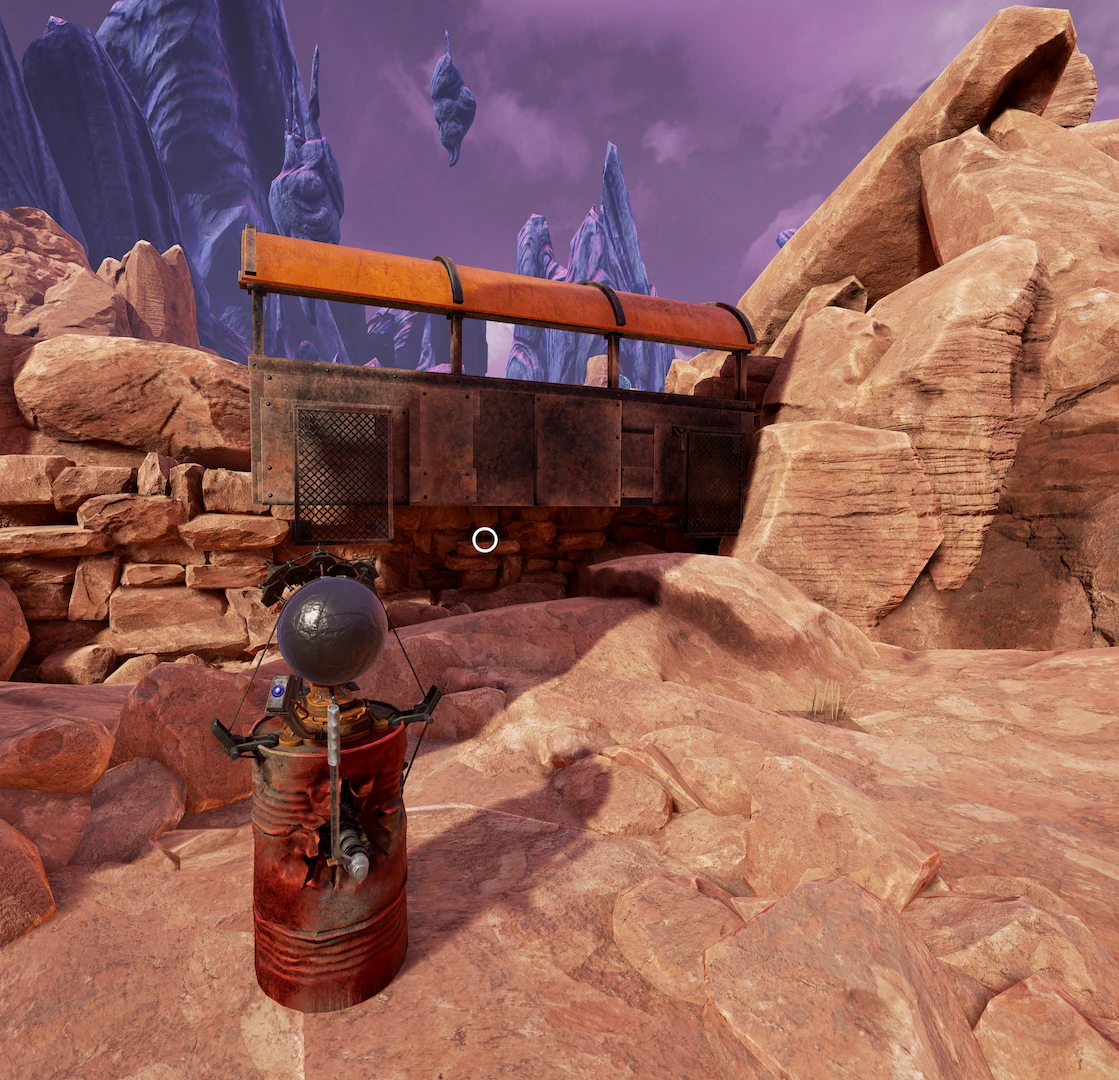
Taking the path to the right, you will find a seed-swap device on a cliff, but no way across. Activate the device.
Now you're back in the area where the stone arch used to be, replaced by the terrain from Maray.
Go back to the area of the device that got you to Maray before. Since that the area has been swapped you will find there a new seed-swap device, which looks like it must have been the original one of Hunrath. Activate it to swap back to Maray.
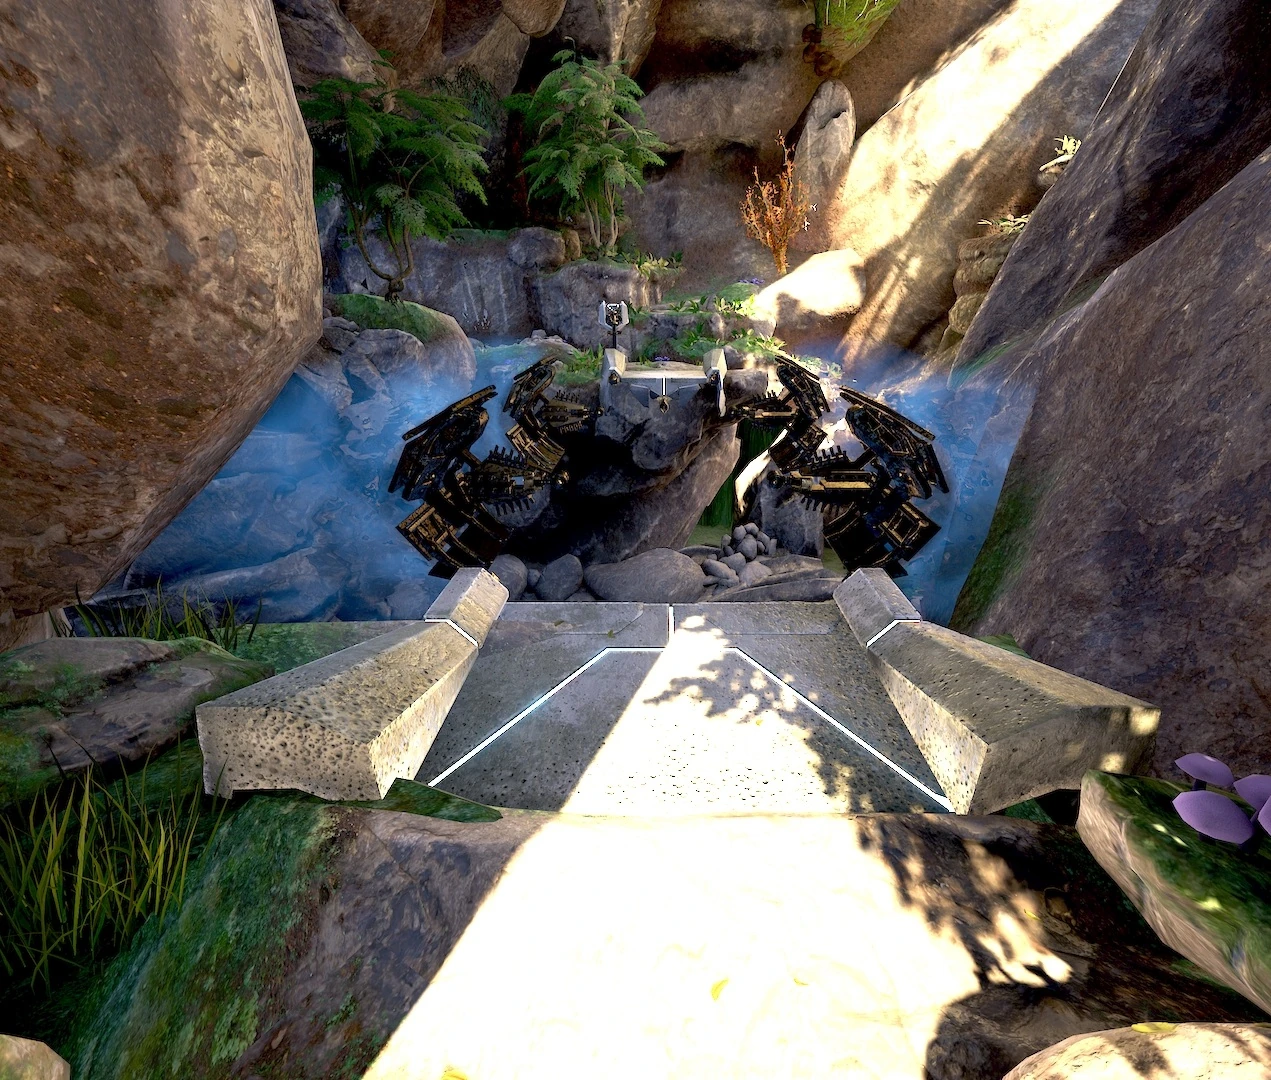
Go back to where the gap with the seed-swap device was. In its place has been swapped the stone arch taken from Hunrath which allows you to pass across.
Passing across you find yourself on a junction of several paths. One to the right leads to the cell wall of Maray, which is impenetrable for now. One path straight ahead leads to another bridge that has not been enabled yet.
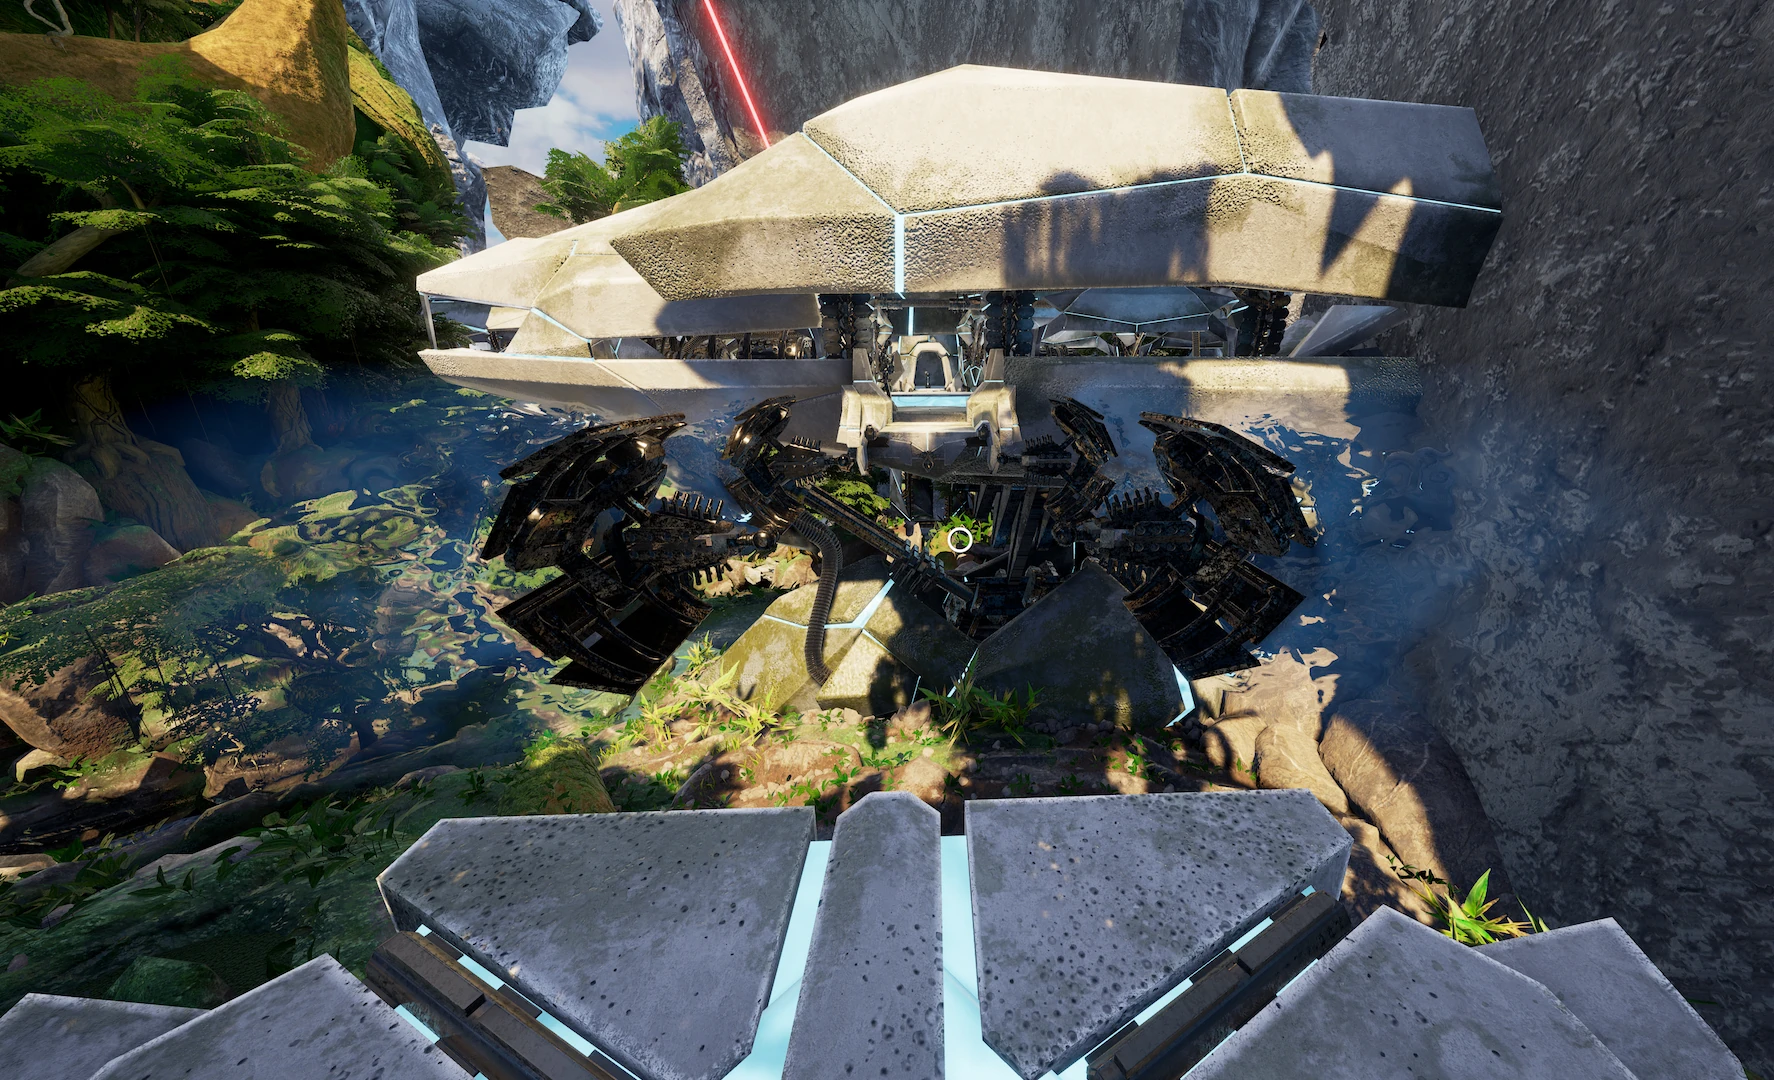
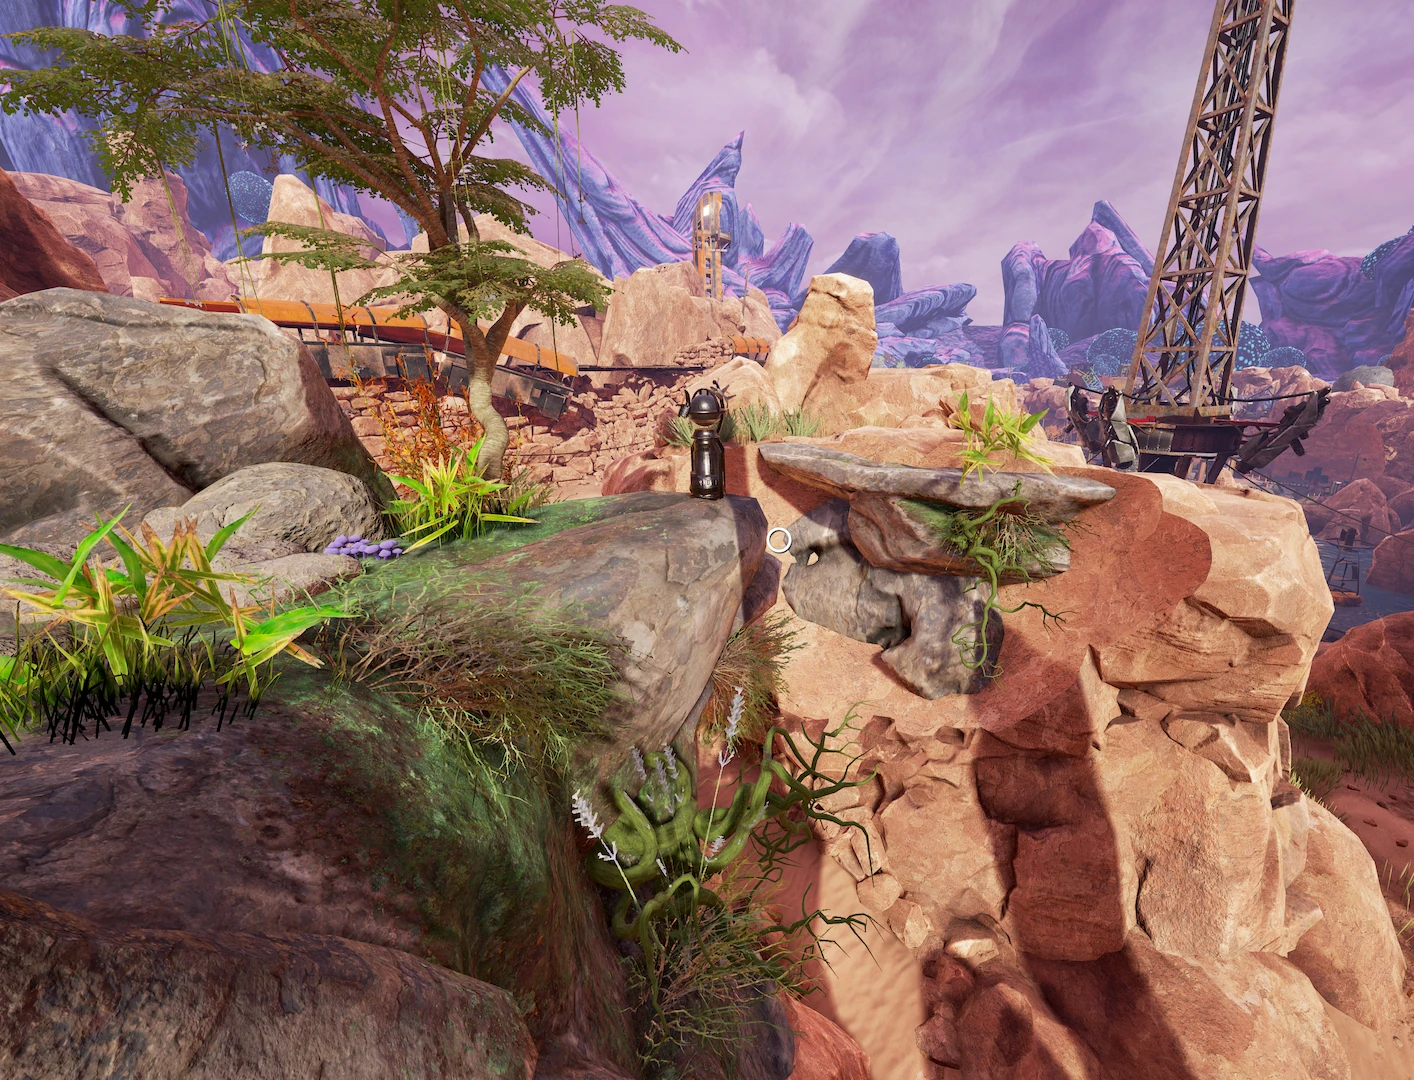
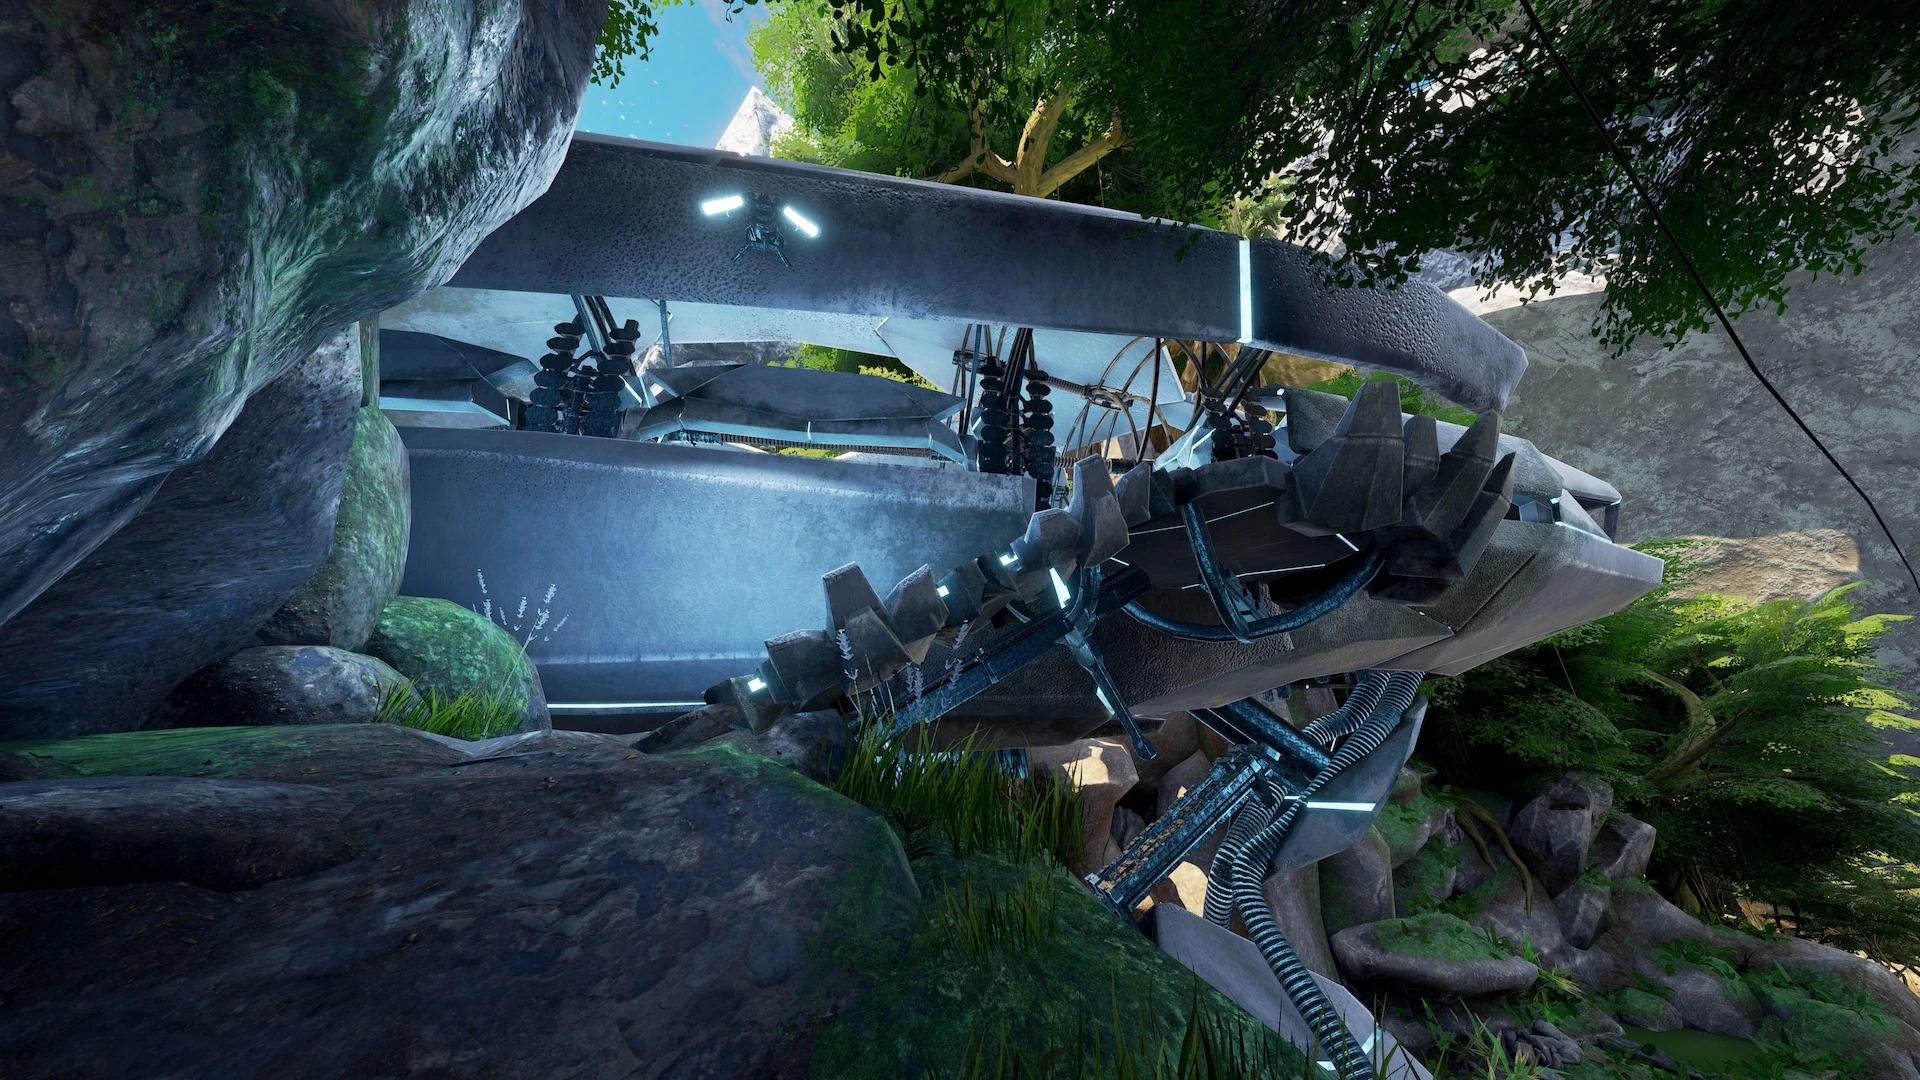
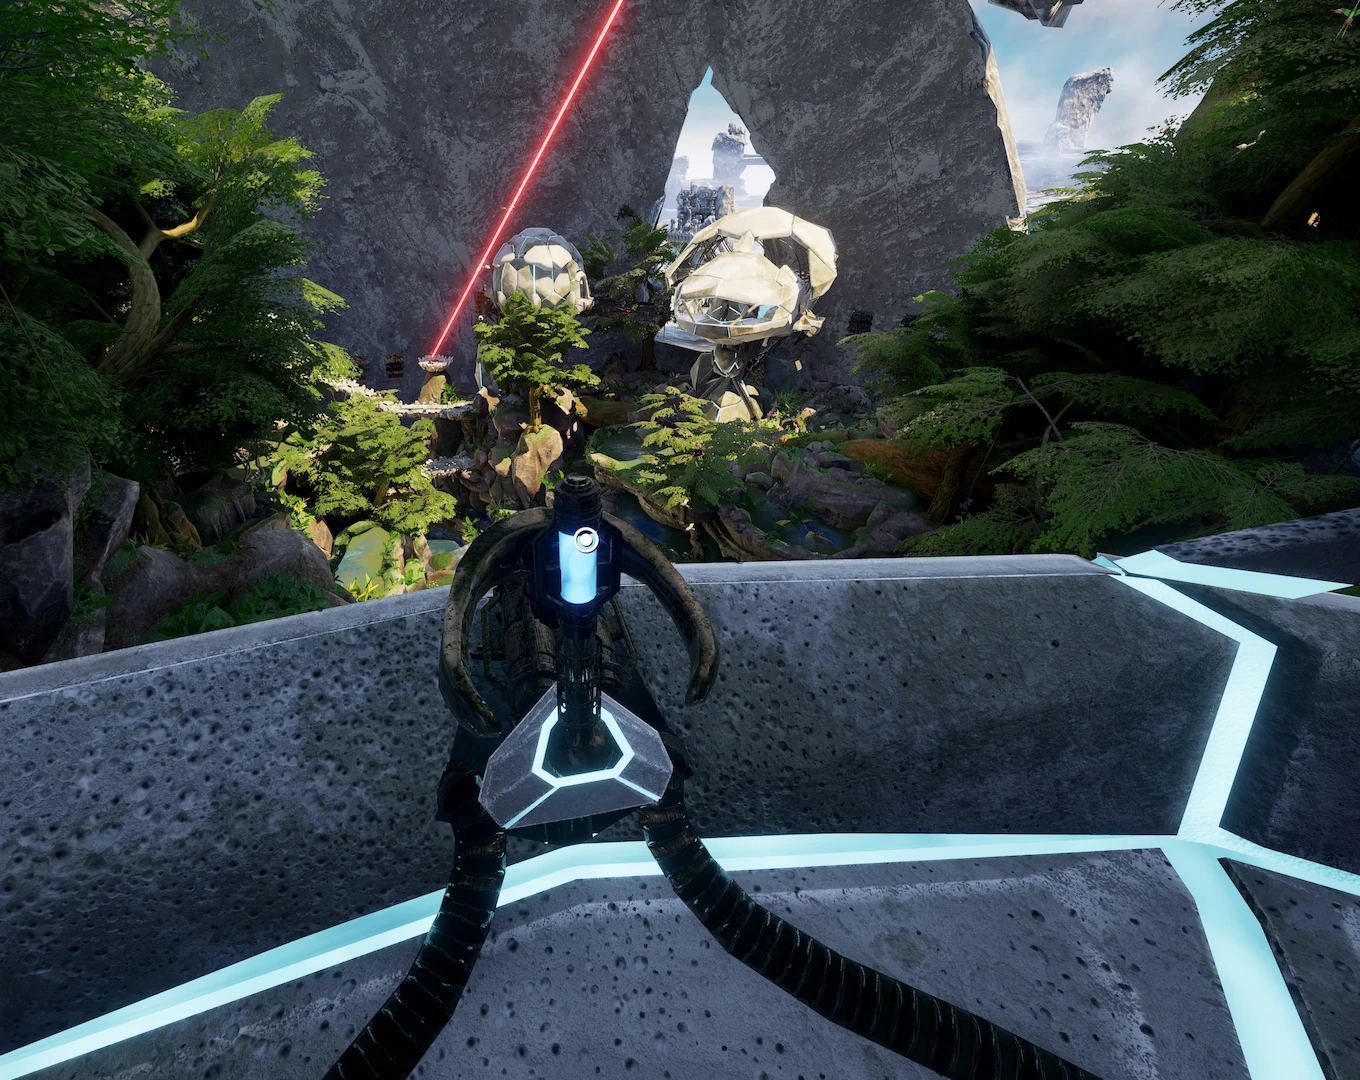
Take instead the path to the left, go straight, and you will find yourself going up the ramp into a futuristic platform of Villein technology and architecture.
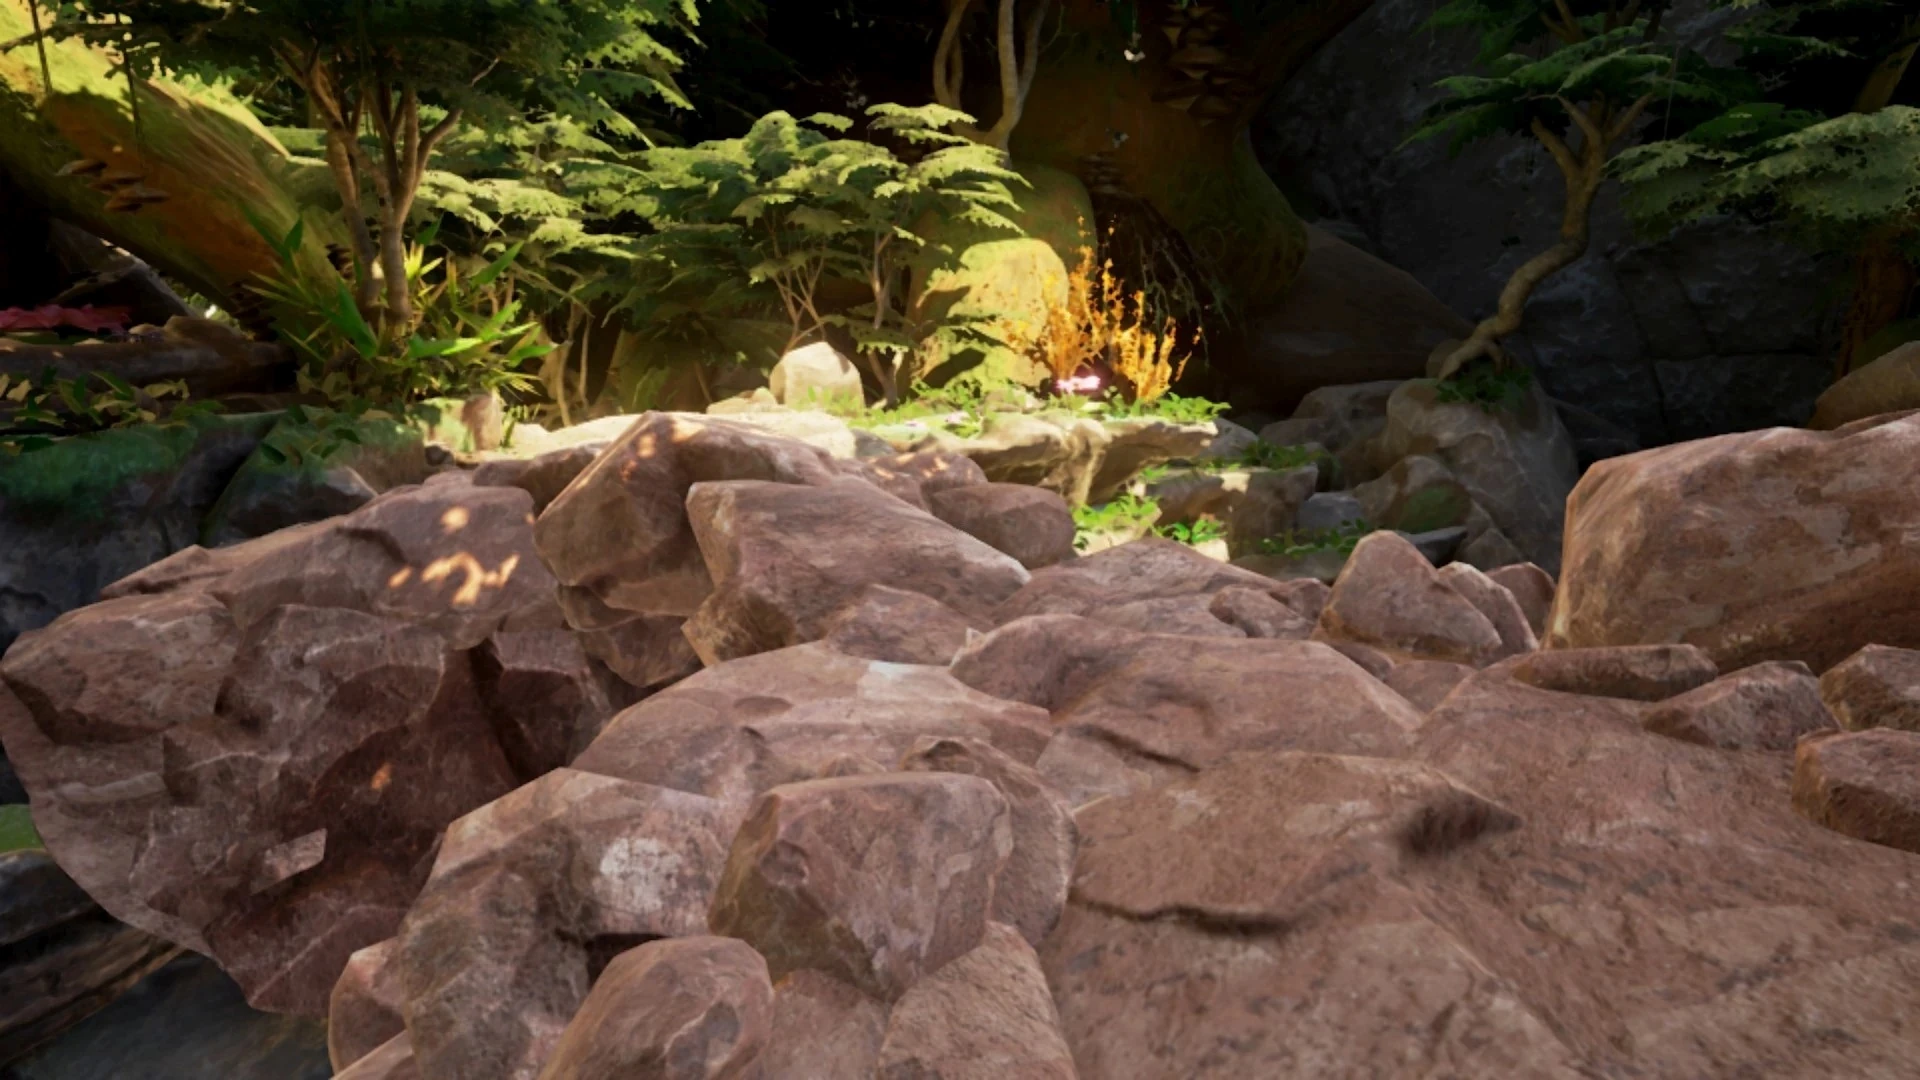
To the right from the ramp, at the front end of the platform, you will find a lever which activates and moves a blue Villein beam which is emitted from somewhere out of view. Hold down the lever like a joystick to control the beam and destroy the device producing the red beam. You have now opened the cell wall portals of Maray.
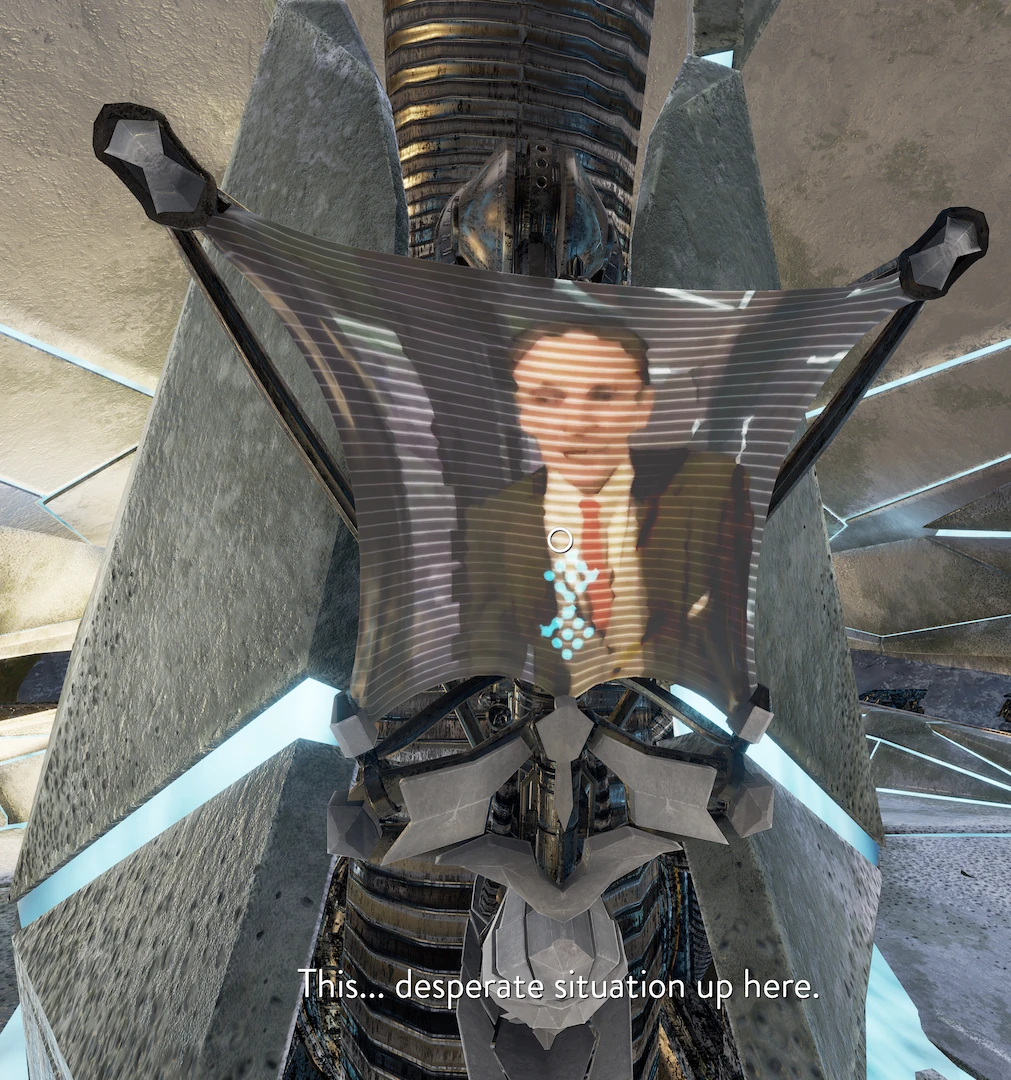
Look behind you for a message from the iMayor (a Mofang in disguise). Now exit the platform and go straight across the path junction, down under roots and over two short bridges, to the cell wall portal, and go through it. Head along this new path until you get to another portal, and go through it. You'll find yourself on another platform, the Villein armory. There are two bridges off its sides, each with a Villein control panel to interact with and enable them. But first, head to the end of the platform for another brief message from the iMayor.
View the photo below for the panel configuration to activate the bridges. This is the value of 682 in base 10 (or 22222 in base 4). For other configurations, please read the info on Maray Bridge Panel Configurations. One bridge takes you back to the area you first entered Maray. The other bridge leads to a dome with two Hunrath seed-swap devices.